
📝 W02 Formative Exercise - Warm up to data analysis
2024/25 Autumn Term
⭐ Update (20 Oct 2024, 5.30pm). Take a look at the ✅ Week 02 Solutions & Commentary page.
🤔 Am I ready to start this exercise?
You will benefit more from this exercise if you have completed the following tasks:
Context
⏳ How long will this take?
I estimate it should take about 2 hours to complete this exercise. Here’s a rough breakdown of the time you might spend on each task if you don’t encounter any random errors along the way:
- Task 1: 15 minutes
- Task 2: 15 minutes if you don’t follow the (optional) challenging step. 30 minutes if you do.
- Task 3: about 45 minutes if done without the optional challenging step. Allow one extra hour if you decide to tackle it without seeing the solution.
- Task 4: about 15 minutes
⏲️ Due Date:
- 9 October 2024, 8.00 PM (the day before the first lecture)
You won’t be able to submit after this time, but you can still work on it and ask questions in the #help channel on Slack just fine. This assignment won’t count towards your grade (not even for General Course students), but you might feel behind if you complete it after the deadline.
🔗 Useful DS105 links
For a quick reminder of the most common terminal commands.
To learn how to interact with the Nuvolos Cloud Platform and submit your assignment.
If you want to revisit the commands in context of usage.
You might want to read through Topic 2 of the notes if you feel confused about paths, files and directories.
📑 Online resources
- Primitive Data Types vs Non Primitive Data Types in Python | Geeks for Geeks
- Python Data Structures | DataCamp
- Python Data Structures CheatSheet | Cheatography
📃 Submission
- You should submit your solutions entirely via the Nuvolos Cloud platform.
🎯 Main Objectives:
If you complete this assignment successfully, you will have practiced and learned the following skills:
- 🆕 Terminal commands! (
cat,head,tail,wc,grep) - Basic data structures in Python and manipulation of lists and dictionaries
- Basic string manipulation and arithmetic operations in Python
- Reading files using Pandas and working with JSON
📋 NOTE: We will not provide any scripts. You are expected to create your own files and directories as needed through the Nuvolos Cloud Terminal app.
Task 1: Getting started with Nuvolos
Ideally, you should do this activity via Nuvolos. As I said in the lecture, accessing the Terminal of a completely different computer with a completely different file system structure will be very useful. The machine you will access on Nuvolos runs not on Windows or Mac but on a Linux Operating System. Working on it will help you understand the concepts of directories and files better.
But if you encounter any issues with Nuvolos and we can’t help you sort it out in time, you can still complete this exercise on your own computer. You won’t be able to ‘submit’ your work, but you can still learn a lot from the tasks – which is the most important thing!
🙋 We’re here to help: We are offering 6 hours of support via Slack and 10 hours of ‘live support’ (office hours + drop-in session) on Week 02. If you’re experiencing difficulties with Nuvolos, do not hesitate to ask your questions in the #help channel on Slack or attend a support session or office hours.
🎯 ACTION POINTS:
Access Nuvolos. Visit our
 Setting up Nuvolos Guide to learn how to access the platform. Read the guide carefully and follow the instructions to access the platform.
Accept the assignment on Nuvolos. Go to the Assignments tab and accept the assignment called ‘📝 W02 Formative Exercise’. Nothing will change on your files because we are giving you an empty folder, but accepting it will keep a record that you are engaging with exercise.
Run the Terminal emulator app. After a few seconds, you will see a terminal window. Note: even if your computer is Windows, you will have to use the
bashcommands – the same ones that macOS and Linux users use. Check our Terminal Cheat Sheet to compare the commands you know with the ones you will use on Nuvolos.
Create the folder structure below. Using the appropriate terminal commands you saw last week (or on the cheatsheet) to create the following directory structure.
W02-Practice/
├── data/
└── code/
Check the log of commands you’ve run so far. You can use the
historycommand to see a list of commands you’ve run so far. Try running the following command:historyOn Nuvolos, I created a special command called
print-historythat will format the output of thehistorycommand in a way that is easier to read. You can run it by typing:print-history
Submit your work
Simply creating folders and files on Nuvolos, like we did above, will not make your changes visible to us. Any alterations made within Nuvolos are only visible to you. To receive feedback and help us understand your progress with the exercises, it’s important to submit your work.
📋 NOTE: I will check all the submissions on Nuvolos. This will help me understand how easy/difficult the exercises and materials are for everyone. While I won’t necessarily give you individualised feedback on your submission, I will compile common misconceptions and best practices to share with the class in the 🗓️ W02 Lecture.
🎯 ACTION POINTS:
Export your bash history. Every time you feel ready to submit, run the command below to update your bash history file to Comma-Separated Values file (CSV) by running the following commands:
print-history > ./data/bash_history.csvThe
>symbol is used to redirect the output of theprint-historycommand to a file calledbash_history.csvin thedatadirectory.Note that you might need to edit the path to the file accordingly if you are not in the
W02-Practicedirectory.📋 I will combine everyone’s logs and show some aggregated data analysis in the next lecture.
(Optional) See the content of the file. You can use the
catcommand to see the content of the file you just created. Run the following command:cat ./data/bash_history.csvYou should see a list of commands you’ve run so far, separated by commas and enclosed in double quotes.
💡 Tip: You can also use the
lesscommand to scroll through the file. Just typeless bash_history.csvand use the arrow keys to navigate. Pressqto exit.Go to the Assignments Tab. There you will find the list of assignments available. Locate the assignment and click on the ‘Hand-In’ Button
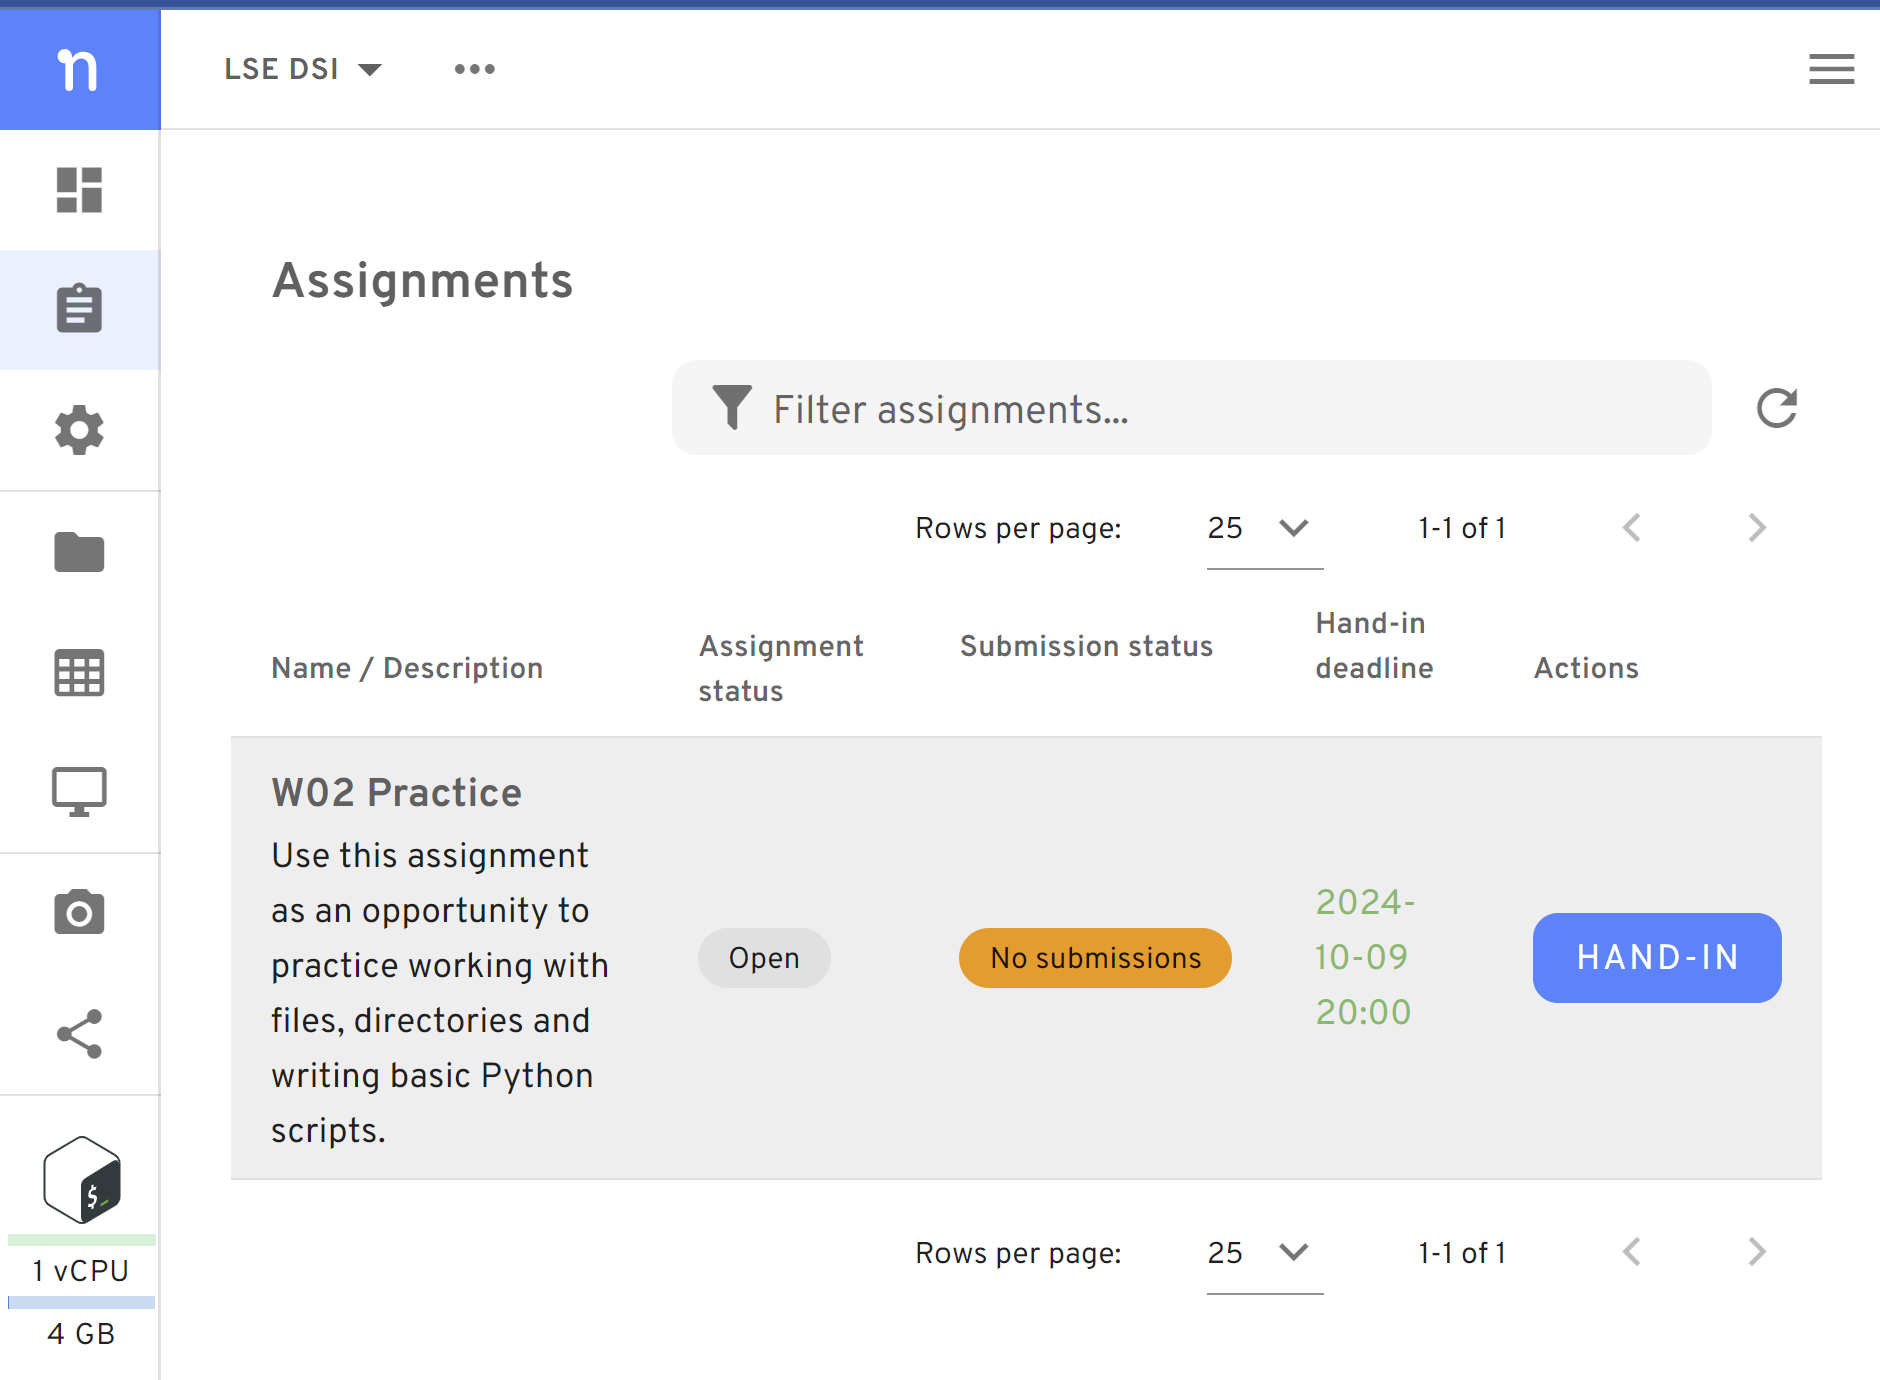
Figure 1. In the assignments page, you will find the ‘Hand-In’ button Hand-in the submission. You will be asked to type an identifier
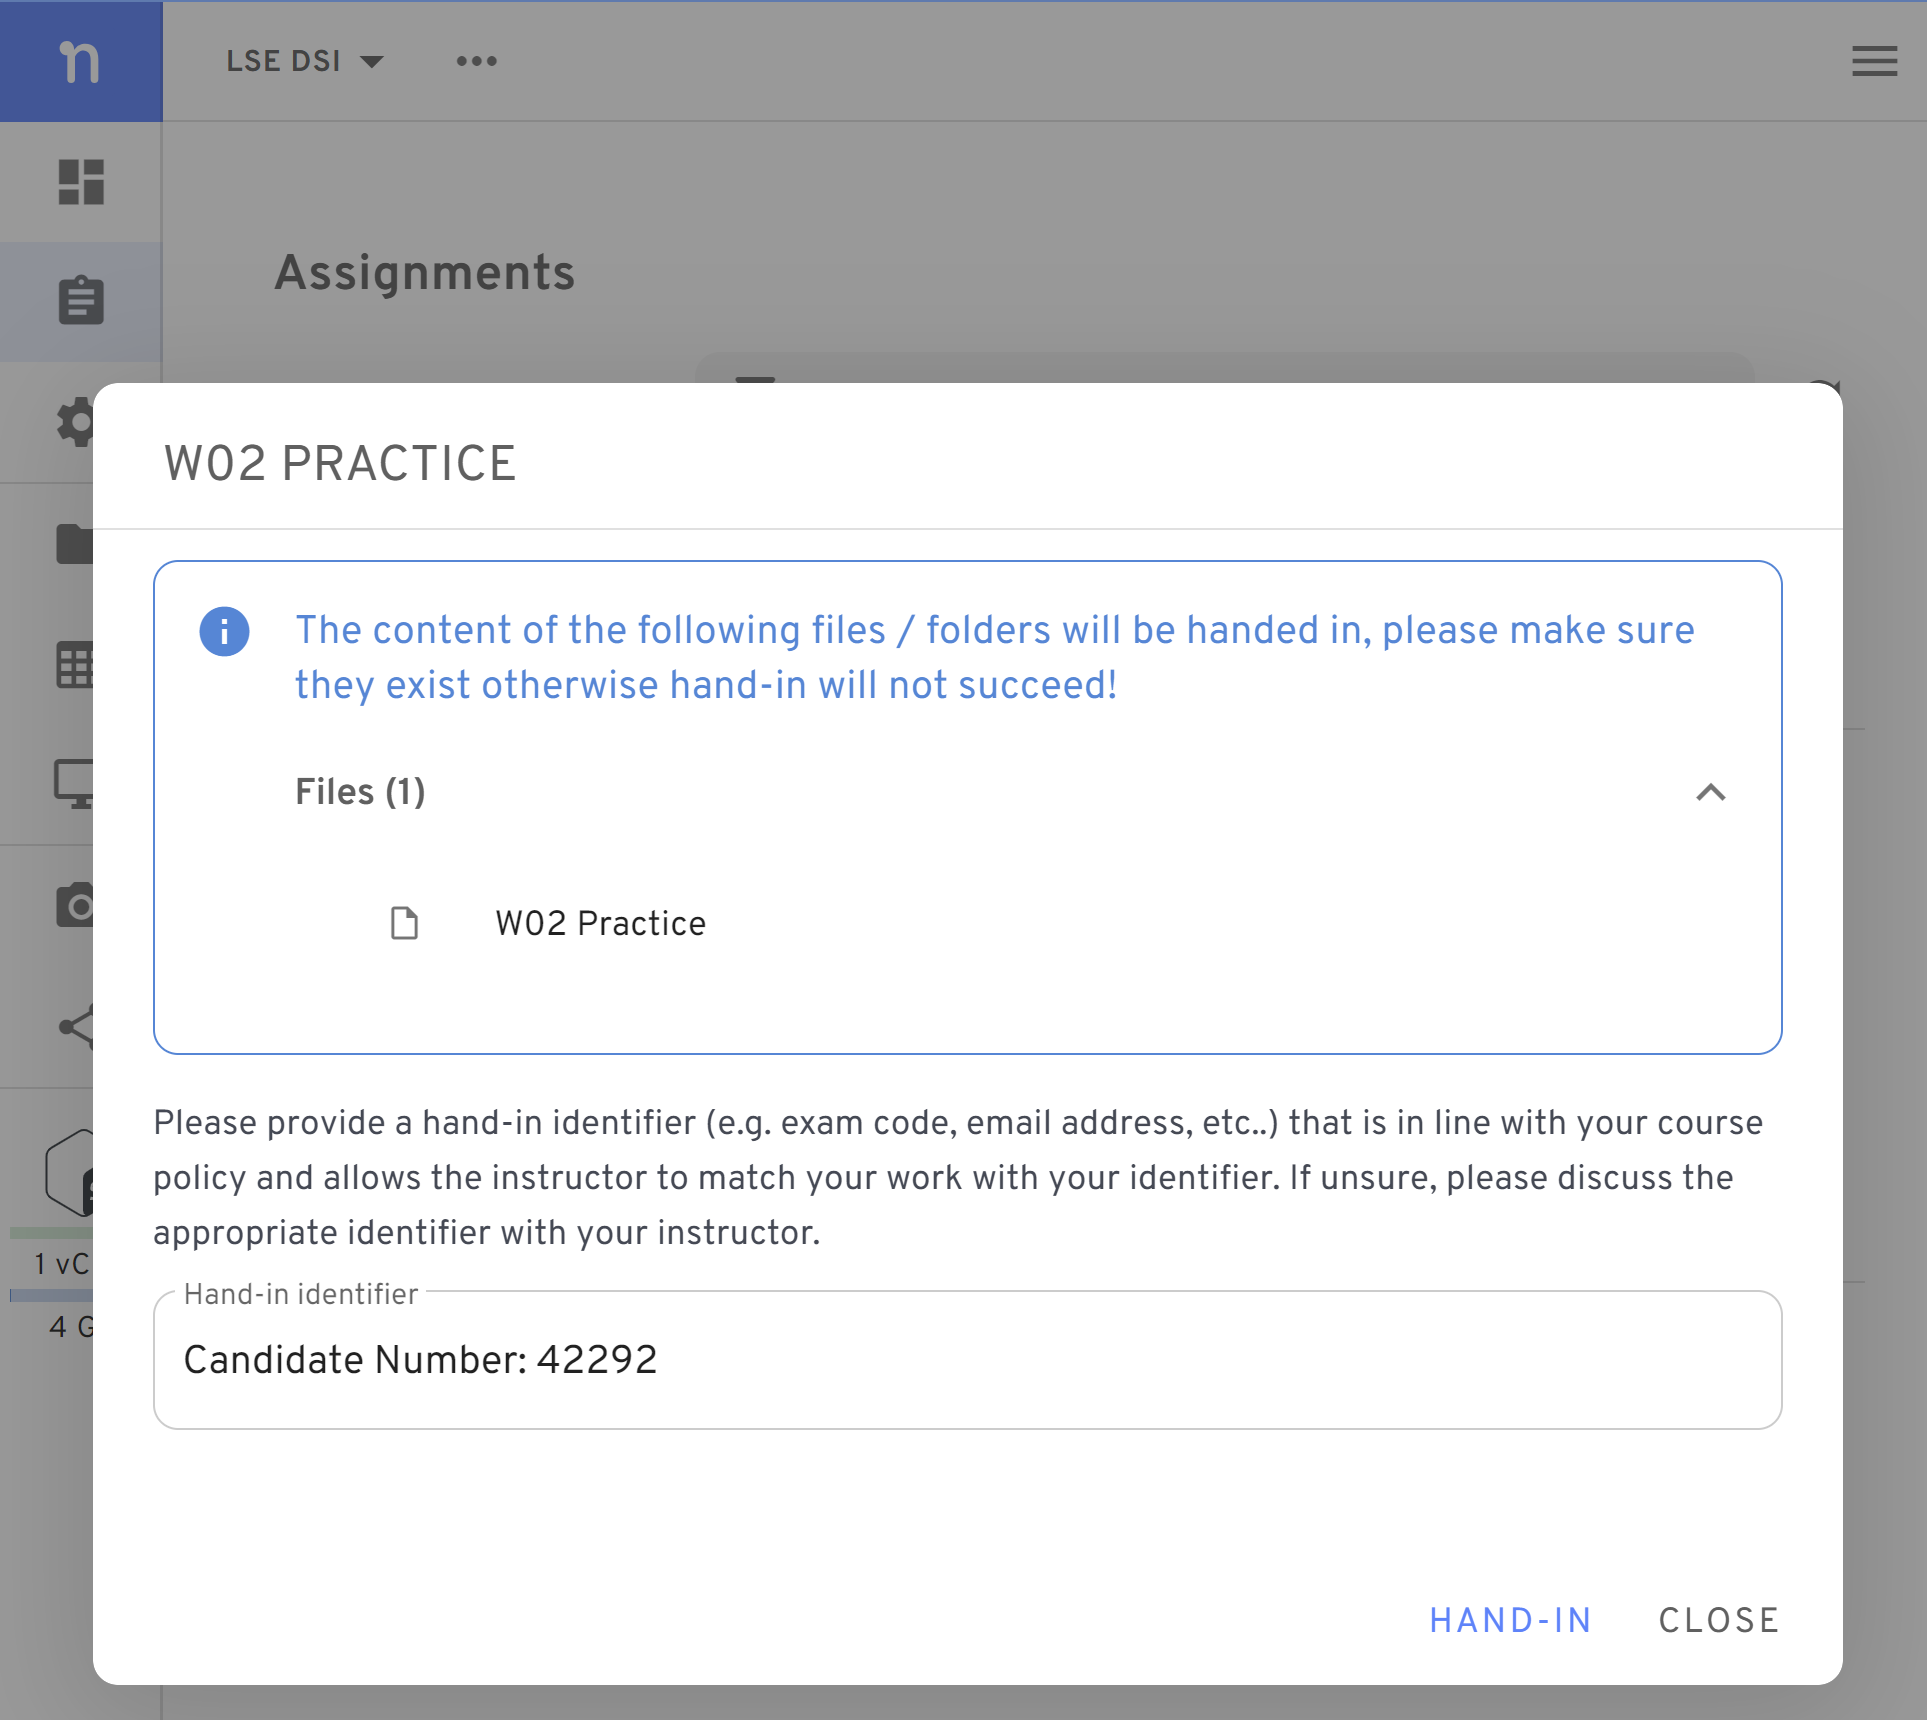
Figure 2. You will be asked to type an identifier. Please add your LSE candidate number. If you haven’t been assigned one yet, type your Student ID instead (a number that starts with the year you joined LSE). Re-submit any time you need. If you need to make changes to your submission, you can hand it in again. The last submission is the only one we will consider when giving feedback.
It’s absolutely natural and common to have many questions at this stage. We want to hear from you! We feel lonely if you don’t ask for help. Do voice your question on the #help channel on Slack, attend support sessions or bring them to the lecture.
✅ Click here to check your understanding of Task 1
✅ Check your understanding
After completing this task, you should be able to explain the following to a colleague:
💭 Think about it: a good indicator that we have grasped a new concept is when we can clearly explain it to others.
🗣️ Talk about it! If you’re having difficulty articulating answers to the questions above, you can benefit from chatting with others (peers or instructors) to revisit your learning. What if you posted a message in the #help channel on Slack, such as, “So.. why is the directory structure in Nuvolos so different to a normal computer”?
Task 2: An analysis of your Terminal history data
Typically, the first step in any data analysis project is to understand the data you are working with. Here are a few things you typically investigate:
- What is the structure of the data? Is it like a table, with rows and columns? Or is it more like a list of items?
- What are the types of data in the dataset? Are they numbers, strings, dates, or something else?
- What are the unique values in the dataset? Can I do a tally of how many times each value appears?
You don’t need to wait until we learn Python to start working with data!! In this session, you will find a few new Terminal commands that will be useful even in the future when you want to quickly check the content of a new dataset before you start working properly with it.
🎯 ACTION POINTS:
Visualise the content of a file with
cat. On the Terminal,cdto where the file is and type the following command to see its content:cat bash_history.csvNotice that there is a structure to this file: each line represents a command you’ve run and the three fields (line, timestamp, and command) are separated by commas. This is a common format for tabular data, and it’s called a CSV (Comma-Separated Values) file.
💡 Tip: You can also use the
lesscommand to scroll through the file. Just typeless bash_history.csvand use the arrow keys to navigate. Pressqto exit.Use
headortailto explore just a piece of the file. When working with very large files, you might just want to peek at the beginning or end of the file. You can do this with theheadandtailcommands. Try running the following commands:head bash_history.csv tail bash_history.csvThe
headcommand shows the first 10 lines of the file, while thetailcommand shows the last 10 lines. You can specify the number of lines you want to see by adding a number after the command, like this:head -n 5 bash_history.csv tail -n 5 bash_history.csvCount the number of lines in the file. You can use the
wccommand to count the number of lines in the file. Try running the following command:wc -l bash_history.csvThe number should match the number you see at the tail of the file.
What if you want to count the number of words? Swap the
-lflag for-w:wc -w bash_history.csvCount number of times you’ve run a specific command. You can use the
grepcommand to search for specific commands in the file. For example, to count the number of times you’ve run thelscommand, you can run the following command:grep -c 'ls' bash_history.csvThe
-cflag tellsgrepto count the number of lines that match the pattern within quotes. You can also use the-iflag to make the search case-insensitive (that is, to ignore the difference between uppercase and lowercase letters).💭 Think about it: What other commands would you like to count?
(Optional) 5. CHALLENGING: What are the top 5 commands you typed so far?
⚠️ Warning: This section might be overwhelming if you are new to the command line. It’s totally fine to skip this step. You will learn all these skills in Python in the next few weeks.
Meet the uniq command!
There is a command called uniq that could help us count the number of unique commands you’ve run. But there is a catch: uniq only counts adjacent lines that are the same. That is, before using uniq, we would need to get our data sorted. If we had something like this:
mv
mv
cd
cd
ls
ls
ls
cat
cat
Then, running uniq -c would return the count of each command:
2 mv
2 cd
3 ls
2 cat
Maybe sort can help us?
One way to achieve this is to use the sort command before uniq. Try running the following command:
sort bash_history.csv | uniq -c 💡 Notice the use of the pipe | to send the output of the sort command to the uniq command. The -c flag tells uniq to count the number of times each line appears.
The output was not quite what we are going for. The problem is that sort is treating the entire line as a single entity. So, if you typed cd Documents and cd Downloads, sort would treat them as different commands. We still need to find a way to trim each line to just the command itself.
Enter the cut command!
One way to do this is to use the cut command. The cut command is used to extract sections from each line of input. Try running the following command:
cut -d , -f 1 bash_history.csvThe command above will extract the line numbers. The -d flag is used to specify the delimiter, which in our case is a comma. The -f flag is used to specify the field we want to extract.
To get closer to what we want, we need to get the third field (the commands you’ve run):
cut -d , -f 3 bash_history.csvTo get just the command (not the arguments or pipes), we cut the remaining string to get the second field after a space:
cut -d , -f 3 bash_history.csv | cut -f 2 -d ' 'Almost there!
Combining these commands with the sort and uniq commands, we can count the number of times you’ve run each command:
cut -d , -f 3 bash_history.csv | cut -f 2 -d ' ' | sort | uniq -cNice! But the commands are sorted in alphabetical order. Therefore we need to add a new sort command at the end to sort them by the number of times you’ve run each command:
cut -d , -f 3 bash_history.csv | cut -f 2 -d ' ' | sort | uniq -c | sort -nThe top commands will be at the end of the list.
Reverse the order and grab the top 5!
If you want to see the top commands at the beginning of the list, you can add the -r flag to the last sort command:
echo "My top 5 commands:"
cut -d , -f 3 bash_history.csv | cut -f 2 -d ' ' | sort | uniq -c | sort -nr | head -n 5
where we added a line of text (with echo) to make it clear what the output is showing and used the head command to show only the first 5 lines, sorted in reverse order from the most used command to the least used.
Mine looks like this:
My top 5 commands:
 115 echo
 102 history
  59 print-history
  57 vim
51 source😮💨 Phew! That was a lot of commands in a row! You must feel like a hacker.
Submit your work again. Go back to the Submit your work section and follow the instructions again to update your submission.
This will demonstrate to us that you’re reading the material and engaging with the course! Also, I will aggregate everyone’s data (anonymised) to present some simple analysis at the incoming lecture.
✅ Click here to check your understanding of Task 2
✅ Check your understanding
After completing this task, you should be able to explain the following to a colleague:
💭 Think about it: a good indicator that we have grasped a new concept is when we can clearly explain it to others.
🗣️ Talk about it! If you’re having difficulty articulating answers to the questions above, you can benefit from chatting with others (peers or instructors) to revisit your learning. What if you posted a message in the #help channel on Slack, such as, “I was brave and tried Step 5 of Task 1 but I’m still puzzled by this particular line. Does anyone have a better intuition into how it works?”?
Task 3: Analysis of the CSV file using Python!
It’s time to switch to Python! In this task, we will read the bash_history.csv file you created in the previous task and perform the same analysis we did in the previous task, but using Python.
🎯 ACTION POINTS:
Re-export your history log. Just to get the most up-to-date data:
print-history > ./data/bash_history.csvAdapt the path to the file if you are not inside the
W02-Practicedirectory.Open the Python shell. Open the Terminal app, make sure your working directory is
W02-Practicethen typepythonto open the Python shell. You should see something like this:Python 3.xx.x (some info) on linux Type "help", "copyright", "credits" or "license" for more information. >>>💡 Tip: You can always exit the Python shell by typing
exit()or pressingCtrl+D.Use
open()to read a plain text file in Python. Before you read the file, you must establisha connection to it.Inside the shell (right next to the
>>>symbol), type this and hit Enter:file = open('./data/bash_history.csv', 'r')Then type:
fileto see what the
filevariable contains. You should see something like this:<_io.TextIOWrapper name='./data/bash_history.csv' mode='r' encoding='UTF-8'>This tells us that
fileis a connection to the filebash_history.csvin read mode. You might have a different encoding, but that’s fine.⚠️ Actually, this is not a good way to read files in Python, but it will help us build the intuition for the next steps.
Actually read the file. Now that we have a connection to the file, we can read its content. Type the following and hit Enter:
content = file.read()The
read()method reads the entire file and returns its content as a string. You should see the content of the file printed to the screen, full of commas (,), double quotes"and newlines (\n).The
contentvariable has all of our data. This is what we would further process in Python.You can check the content by typing:
contentand hitting Enter.
Alternatively, you can use the
print()function to see the content in a more readable way, similar to the output ofcatwe saw in Task 2:print(content)💭 Think about it: Why do you think
contentandprint(content)produce something so different? (Why not Slack#helpto discuss with others?)Close the connection. After you are done reading the file, you must close the connection. Type the following and hit Enter:
file.close()After this, if you try to
file.read(), it will raise an error because the connection is closed.👉 Now, here’s the best way to do it! It’s easy to forget to close a file, so Python has a helpful feature to handle the connection automatically. The
withstatement opens and closes the file for you if you use it correctly.Here is how you can read the content of a file using the
withstatement:with open('./data/bash_history.csv', 'r') as file: content = file.read()After which, you can type
contentagain to see the content of the file.💡 Tip: The
withstatement is a good practice because it ensures that the file is properly closed after its suite finishes, even if an exception is raised.🙋 It’s extremely common to get some random errors at this stage. If that happens to you, contact us via Slack or attend a support session
Split the lines. The content of the file is a single huge string. We need to split it into lines so we can make sense of it.
You can do this by using the
split()method. Type the following and hit Enter:lines = content.split('\n')The
split()method splits a string into a list using the specified separator. In this case, we are splitting the content into lines using the newline character (\n).How many lines are there? Instead of
wc -l, which we used in the Terminal, in Python you can simply run:len(lines)To obtain the length of the list. You should see the number of lines in the file.
Seeing the head and tail of the list.
In Python, the first element of a list is at position
0. You can see the first line of the file by typing:lines[0]To get a similar experience to the
headcommand in the Terminal, you can type:lines[:5]The
:tells Python to get all elements from the beginning of the list up to the fifth element. You can change the number to see more or fewer lines.Now to see the very last line of the file, you can type:
lines[-1]And you can also use the same slicing technique to see the last 5 lines:
lines[-5:]📝 Note: In Python, the first element is always at the position
0. If you want to see the second line, typelines[1].💡 Tip: You can check the content of lines by typing
linesorprint(lines)in the Python shell. You can also check how many lines by typinglen(lines).Split the line into fields. You know that we decided to use a comma to separate the line number from the timestamp from the commands. You can split the first line into fields by typing the following and hitting Enter:
fields = lines[0].split(',')You can check the content of the
fieldsvariable by typingfields.📝 Note: You should see a list that has three fields: the
line_number, thetimestampand thecommandNeatly store the fields in a dictionary. You can store the fields in a dictionary to make it easier to access them. Type the following and hit Enter:
data = { 'line_number': fields[0], 'timestamp': fields[1], 'command': fields[2] }You can check the content of the
datavariable by typingdata.📝 Note: You should see a dictionary with the keys
line_number,timestamp, andcommandand their respective values.(CHALLENGE) Convert each one of the lines to a dictionary. If you have been taking the Python pre-sessional courses offered by Digital Skills Lab, try to use your knowledge of
forloops and create a list calledfull_datasuch that each element of the list contains a dictionary representing a line in the file.📝 Note: If you are new to Python, don’t worry! 🗓️ W02 Lecture will feature a Python crash course.
🔍 Look at the solution
You could copy-paste the entire code below to the Python shell or, if you encounter errors, try to copy-paste each line separately. See if you can understand what each line does.
with open('./data/bash_history.csv', 'r') as file:
    content = file.read()
lines = content.split('\n')
full_data = []
for line in lines:
fields = line.split(',')
if len(fields) == 3:
data = {
    'line_number': fields[0],
    'timestamp': fields[1],
    'command': fields[2]
}
full_data.append(data)You can check the content of the full_data variable by typing full_data.
📝 Note: You should see a list of dictionaries, where each dictionary represents a line in the file.
If your code works, when you type full_data, you should see something like:
{'line_number': '263 ',
    'timestamp': '2024-09-24-17:50:01',
    'command': '" head bash_history.csv"'},
{'line_number': '263 ',
    'timestamp': '2024-09-24-17:50:01',
    'command': '" tail bash_history.csv"'},
{'line_number': '263 ',
    'timestamp': '2024-09-24-17:50:01',
    'command': '" wc -l bash_history.csv"'}
💭 Think about it: How would you further process the full_data to obtain just the name of the commands you used?
Save
full_datato a JSON file. You will learn about JSON files on the 💻 W02 Lab, but you can start getting used to it.# The JSON library is part of Python's standard library import json # This time we open the file with `w` to write to it with open('./data/bash_history.json', 'w') as file: json.dump(full_data, file)Exit the Python shell (Type
exit()and hit Enter) and usecatto see the content of the JSON file:cat bash_history.jsonSubmit your work again. Go back to the Submit your work section and follow the instructions again to update your submission.
This time around, your directory should look like this:
W02-Practice/
├── data/
│   ├── bash_history.csv
│   └── bash_history.json
└── code/
✅ Click here to check your understanding of Task 3
✅ Check your Understanding
After completing this task, you should be able to explain the following to a colleague:
💭 Think about it: a good indicator that we have grasped a new concept is when we can clearly explain it to others.
🗣️ Talk about it! If you’re having difficulty articulating answers to the questions above, you can benefit from chatting with others (peers or instructors) to revisit your learning. What if you posted a message in the #help channel on Slack, such as, “Gee! I’m lost. I got stuck at Step 6 of Task 3 with the following error and can’t get out of it! Help!”
Task 4: Save your code to a Python script
On Task 3, you’ve played around with Python in the shell. This is a great way to experiment with code and test ideas. However, it is not a good way to write and save code that you want to reuse later. For this, we need to save our code to a Python script.
🎯 ACTION POINTS:
Create a new Python script. In the Terminal, ensure you are inside “W02-Practice” then type the following command to create a new Python script:
touch ./code/commands_analysis.pyUse
touch(nion Windows) every time you want to create a plain text file. If the file already exists,touchwill simply modify the ‘last modified’ metadata on the file, it won’t change its content.Open the Python script using a terminal text editor. Use the
nanocommand to edit a file on the Terminal, like you would on Word or Google Docs:nano ./code/commands_analysis.pyMake changes to the file as you want. Remember: your mouse won’t work as expected here, use and abuse the arrow keys of your keyboard.
IMPORTANT: Whenever you feel like you are done editing or you want to save the progress with your file and go back to the Terminal, type Ctrl + X to mark this file as ready to save. You will see the following message at the bottom of the screeen:

Type Y to confirm you want to save the changes. The
nanoapp will ask you to give (or confirm) the name of your plain text file:
Edit the filename if it is incorrect, then hit Enter. You should be back on the shell app.
Copy the code from Task 3 to the Python script. Copy the code you wrote at the end of Task 3, including the bit where we save a JSON file, to the
commands_analysis.pyfile.Run the Python script. Open the Terminal app,
cdto theW02-Practicefolder and then run the following command:python code/commands_analysis.pyYou should see the output of the script printed to the screen just as before.
💡 Tip: It is common to see errors of ‘file not found’ at this stage. If that happens to you, check where you are (you should be in the “W02-Practice” folder), and check the path to
bash_history.csvyou wrote inside the Python script. It should be relative to “W02-Practice”, too.Submit your work again. Go back to the Submit your work section and follow the instructions again to update your submission.
This time around, your directory structure should look like this:
W02-Practice/
├── data/
│   ├── bash_history.csv
│   └── bash_history.json
└── code/
    └── commands_analysis.py
✅ Click here to check your understanding of Task 4
✅ Check your Understanding
After completing this task, you should be able to explain the following to a colleague:
💭 Think about it: a good indicator that we have grasped a new concept is when we can clearly explain it to others.
🗣️ Talk about it! If you’re having difficulty articulating answers to the questions above, you can benefit from chatting with others (peers or instructors) to revisit your learning. What if you posted a message in the #help channel on Slack, such as, “I’m trying to run my Python script but I keep getting this error. Can someone help me understand what’s going on?”?
🏆 Challenge
If you already had the time to practice some Python, you can try to solve the following challenge.
Under Task 2 - Step 5 (Challenging), we used a series of bash commands to find the top 5 commands you’ve run so far. Can you try to achieve the same result using Python?
🎯 ACTION POINTS:
Edit the
commands_analysis.pyscript. Open thecommands_analysis.pyscript in thenanotext editor and add the code to calculate the top 5 commands you’ve run so far.- Use just basic Python! Just
fororwhileloops +list+dictoperations orstroperations. Do not use any external libraries likepandasornumpynor advanced Python concepts like thereorcollectionsmodules.
- Use just basic Python! Just
Create a rudimentary plot for your top commands. Try to make sense of the
plot_ascii_bar()we shared with you last week, at the end of the 📝 W01 Formative Exercise and reuse it to make a plot of your commands.Run the Python script. Open the Terminal app,
cdto theW02-Practicefolder and then run the following command:python code/commands_analysis.pyYou should see the output of the script printed to the screen just as before.
Submit again! Go back to the Submit your work section and follow the instructions again to update your submission.