
💻 Week 02 Lab
Collecting and Organising Live Weather Data with Python
requests package to collect data dynamically from OpenMeteo. iii) Reuse your own code by writing functions. iv) Extend your understanding of data organisation and Markdown tables.
Last Updated: 29 January 2025, 21:00 GMT
📍Time and Location: Friday, 31 January 2025 at KSW.2.10. Check your timetable for the precise time of your class.
0️⃣ Preparation
We’ve designed this lab to build directly on the concepts of the 📝 W02 Formative and 🗣️ W02 Lecture. To get the most out of this session, make sure you’ve studied this material first - it’ll help everything click into place!
You should be comfortable with the following concepts before starting this lab:
- ✅ Navigating a Jupyter Notebook and creating new cells.
- ✅ Using
print()to curate and format textual output. - ✅ Basic Markdown formatting (tables, lists, etc.).
- ✅ Working with lists and loops (even if it takes you a while to figure them out).
- ✅ Accessing keys in a dictionary.
🛣️ Lab Roadmap
| Part | Activity Type | Focus | Outcome |
|---|---|---|---|
| Part I | 🎯 ACTION POINT | Extract and format data from a fixed dictionary. | Learn to access and structure data into Markdown tables. |
| Part II | 🎯 ACTION POINT | Use requests to collect live weather data. |
Automate the process—same logic, but now with real data. |
| Part III | 🗣️ TEACHING MOMENT | Introduce functions to reuse your code. | Learn how to make your work reusable and flexible. |
| Part IV | 🎯 ACTION POINT | Write your own function to structure data. | Practice modularising your code. |
Part I: Working with a Fixed Dictionary (20 min)
Note to class teachers: Guide students into Nuvolos and help troubleshoot any set up issues. Ensure everyone has VS Code open and ready to go. Invite everyone’s attention once it’s time to close this part.
🎯 ACTION POINTS
You can start working on this as soon as you enter the lab. Raise your hand if you need help and your class teacher will assist you. (Feel free to work in pairs or small groups if you prefer.)
Open VS Code. Access
 Nuvolos, locate the
  Applications tab on the left and click on the
  VS Code application.
Create a new Jupyter Notebook. Once VS Code is running, click on the
 File Explorer tab on the left sidebar, right-click on the folder “Week 02 - Python Collections & Loops” and select New File. Name it
 W02 Lab - Weather Data.ipynb(the name must be exactly like this).Add a nice first Markdown cell. Copy the huge piece of Markdown+HTML code below to have a very nicely DS105W-styled first cell in your notebook. This will make your work look professional and well-organised.
Click here to reveal the Markdown code
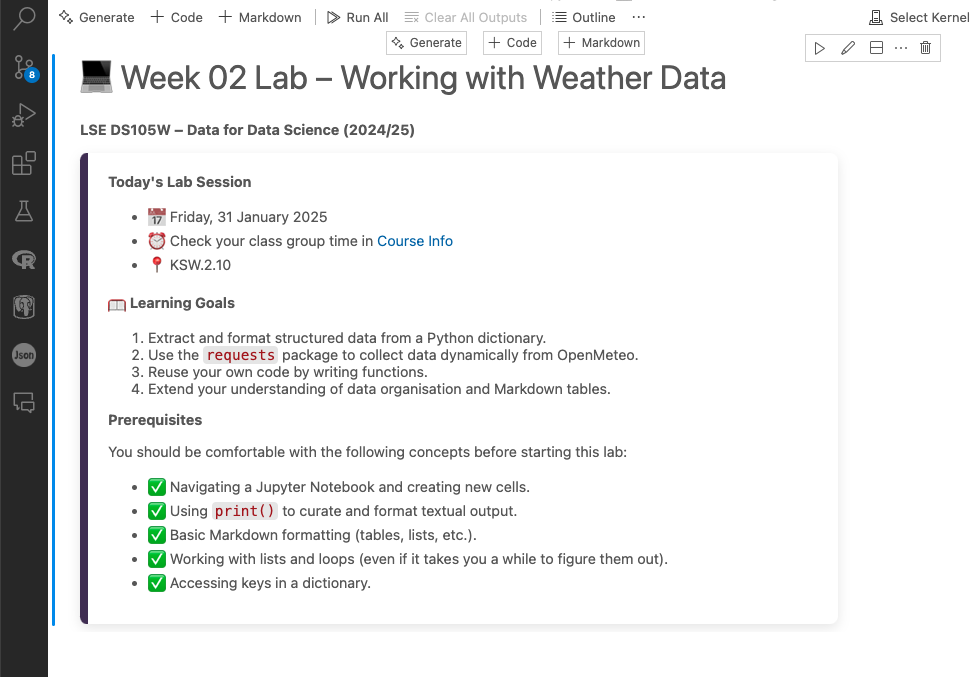
# 💻 Week 02 Lab – Working with Weather Data

**LSE DS105W – Data for Data Science (2024/25)**

<div style="font-family: system-ui; padding: 20px 30px 20px 20px; background-color: #FFFFFF; border-left: 8px solid #47315E; border-radius: 8px; box-shadow: 0 4px 12px rgba(0, 0, 0, 0.1);max-width:600px">

**Today's Lab Session**
- 📅 Friday, 31 January 2025
- ⏰ Check your class group time in [Course Info](https://moodle.lse.ac.uk/mod/page/view.php?id=1559985)
- 📍 KSW.2.10

🥅 **Learning Goals**

1. Extract and format structured data from a Python dictionary.
2. Use the `requests` package to collect data dynamically from OpenMeteo.
3. Reuse your own code by writing functions.
4. Extend your understanding of data organisation and Markdown tables.

**Prerequisites**

You should be comfortable with the following concepts before starting this lab:

- ✅ Navigating a Jupyter Notebook and creating new cells.
- ✅ Using `print()` to curate and format textual output.
- ✅ Basic Markdown formatting (tables, lists, etc.).
- ✅ Working with lists and loops (even if it takes you a while to figure them out).
- ✅ Accessing keys in a dictionary.

</div>
Your notebook should look like this:
Add a new section to focus on Part I of the lab.
Markdown allows us to add hierarchical structure to our notebooks. Add a new Markdown cell below the header and write
## Part I: Working with a Fixed Dictionary. This will help demarcate the different parts of your lab.💡 TIP: Make a note to yourself to later come back to this Markdown cell and write a small sentence to explain what this section is all about.
Time for some Python coding! 🚀
Get data out of a dictionary. Let’s start simple and work with a fictional, hand-crafted dictionary (fake data, essentially).
Create a new Python code cell and write the following dictionary:
weather_data = {
    "hourly": {
        "time": ["2025-01-28T00:00", "2025-01-28T01:00", "2025-01-28T02:00"],
        "rain": [0.0, 0.1, 0.2],
        "temperature_2m": [8, 7, 8]
    }
}
Then, on yet-another code cell, write the necessary code to extract the
time,temperature_2m, andraindata into separate lists. Print these lists to check if you’ve extracted the data correctly.
🔍 Give it a go before looking at the solution!
We use square brackets ([]) to extract the data from a dictionary given a certain key. If the dictionary has another dictionary inside, we can compound the square brackets to access the inner dictionary.
Here’s the code to extract the data:
times = weather_data["hourly"]["time"]
temps = weather_data["hourly"]["temperature_2m"]
rain = weather_data["hourly"]["rain"]

print(f"List of times:\t\t {times}")
print(f"List of temperatures:\t {temps}")
print(f"List of rain:\t\t {rain}")
🏆 Generate a Markdown table.
Your task here is to write the necessary Python code (in a new code cell) using
print()statements to generate a full Markdown table to represent the data you extracted from the list.This is what this table should look like:
Time Temp (°C) Rain (mm) 2025-01-28T00:00 8 0.00 2025-01-28T01:00 7 0.10 2025-01-28T02:00 8 0.20 This task is an attempt to combine everything you’ve been learning. From the
print()skills from the 💻 W01 Lab, to theforloops you saw in your Dataquest lessons (📝 W02 Formative) and the concepts of Markdown introduced in the 🗣️ W02 Lecture.Your notebook would look somewhat like this:

🗣️ TEACHING MOMENT
When you are running out of time, your class teacher will ask for volunteers to share their code with the class. If no one managed to complete this, your class teacher will provide a solution for everyone to see.
Your class teacher will explain the difference between the source code of Markdown versus the rendered output. This is a crucial concept to understand when working with Markdown tables.
Part II: Data Collection with requests (15 min)
(Keep adding Markdown sub-sections to your notebook to keep it organised.)
This is a 🗣️ TEACHING MOMENT. Your class teacher deserves your full attention as they do a recap of this concept which was first introduced in the 🗣️ W02 Lecture. Follow along in your notebooks as they demonstrate the tasks below.
Visit
 Open-Meteo and explore their API documentation.
Identify the URL to fetch hourly temperature data for London. (Let’s ignore rain for now.)
Once you’ve fiddled the options, you would discover that the following is the URL to fetch the data we need:
https://api.open-meteo.com/v1/forecast?latitude=51.5085&longitude=-0.1257&hourly=temperature_2m&timezone=Europe%2FLondonThis piece of text carries a lot of meaning. It’s as if you were asking Open-Meteo to give you the forecast for London’s temperature every hour and to return the times in London’s timezone.
💡 Tip: The actual timezone specification is
Europe/Londonbut we need to replace/with the weird characters%2Fin URLs as otherwise, the character/would signify that you want to enter a new folder. To avoid this type of confusion, we always encode certain characters when using them in URLs.Send a request to this URL using Python.
Create a new code cell and write the following code to fetch the data:
import requests

url = "https://api.open-meteo.com/v1/forecast?latitude=51.5085&longitude=-0.1257&hourly=temperature_2m&timezone=Europe%2FLondon"
response = requests.get(url)
This code will fetch the data and return a bunch of text (a string) back to you.
Inspect the response.
Inside this
responsevariable hides the data you requested but also important information about the request itself.Was the request successful?
print(response.status_code)If the status code is
200, it means the request was successful. If it’s404, it means the URL was not found. There are many other such status codes.What does the data look like?
print(response.text)This should look familiar, right?
So this is a Python dictionary, then? Not quite…
type(response.text)prints out
<class 'str'>, which means it’s a string!💡 Tip: On 🗣️ W01 Lecture, we learned that computers needs to understand how to process the
0s and1s to decode each type of data. Not every computer will use the same0s and1s that encode a Python dictionary so, the convention on the Internet is to transfer data as pure text (UTF-8). Therefore, when you collect that data, you still have to parse it to the appropriate data structure of your preferred programming language – in our case, Python.How do we convert this string into a Python dictionary?
Luckily, the
responseobject has a method called.json()that parses that dictionary-looking string into a Python dictionary 1.weather_data = response.json()Explore the weather data. You will find that this dictionary is quite similar to the one we played with in Part I, it just has more data in it.
Your class teacher will show you how to extract lists (and other variables) from it.
Part III: Making Code Reusable with Functions (15 min)
Another 🗣️ TEACHING MOMENT. Your class teacher will explain why functions are important and how they can make your code more efficient.
Watch as they demonstrate how to write a function called get_weather_variables that receives as input the weather_data dictionary and returns two things as output: the times and temps lists.
def get_weather_variables(weather_data):
    ... some code here
    return times, temps
Part IV: It’s your time to shine! (40 min)
Try to solve this task on your own. If you get stuck, don’t worry! Your class teacher will be there to help you out. Your class teacher will share a solution to your Slack group after the lab in case you can’t finish it in time.
🎯 ACTION POINTS
Modify the URL and send another request.
Play with the Open-Meteo API and try to add the hourly rain data to your request. In the end, the dictionary should have both
temperature_2mandraindata.💡 Tip: Don’t write this inside the list just yet, just use a fresh new Python cell for this
Make sure you can extract the new data.
Write the necessary code to extract the
raindata from the new dictionary into a separate list. Print this list to check if you’ve extracted the data correctly.Now edit the
get_weather_variablesfunction.Go back to the place where you wrote that function and edit it so that it now returns three things:
times,temps, andrain.💡 Tip: You can return multiple things from a function by separating them with commas.
🏆 Write a whole new function to print a Markdown table given the three lists
The signature of this function should be:
def print_weather_table(times, temps, rain):
    ... some code here
And it shouldn’t return anything, just print the Markdown table.
💡 Tip: You can reuse the Markdown table code you wrote in Part I.
🏅 RE-WRITE the function so it reads the
weather_datavariable directlyThat is, the signature of this function should be:
def print_weather_table(weather_data):
    ... some code here
And it should still print the same Markdown table as before.
🏡 Eager for more exercises?
We’re preparing a really nice 📝 W03 Formative activity. It will be available on Moodle by Monday at the latest. Reserve some time early next week to practice some more data reshaping.