
 Using Nuvolos
⚠️ IMPORTANT: Follow the instructions on this link if you don’t have a Nuvolos Cloud account yet.
Using Nuvolos
If you already have a Nuvolos account, go to the Nuvolos website and log in with the credentials you created.
🎯 ACTION POINTS
Open your home page after login. You should see something like the screen below.
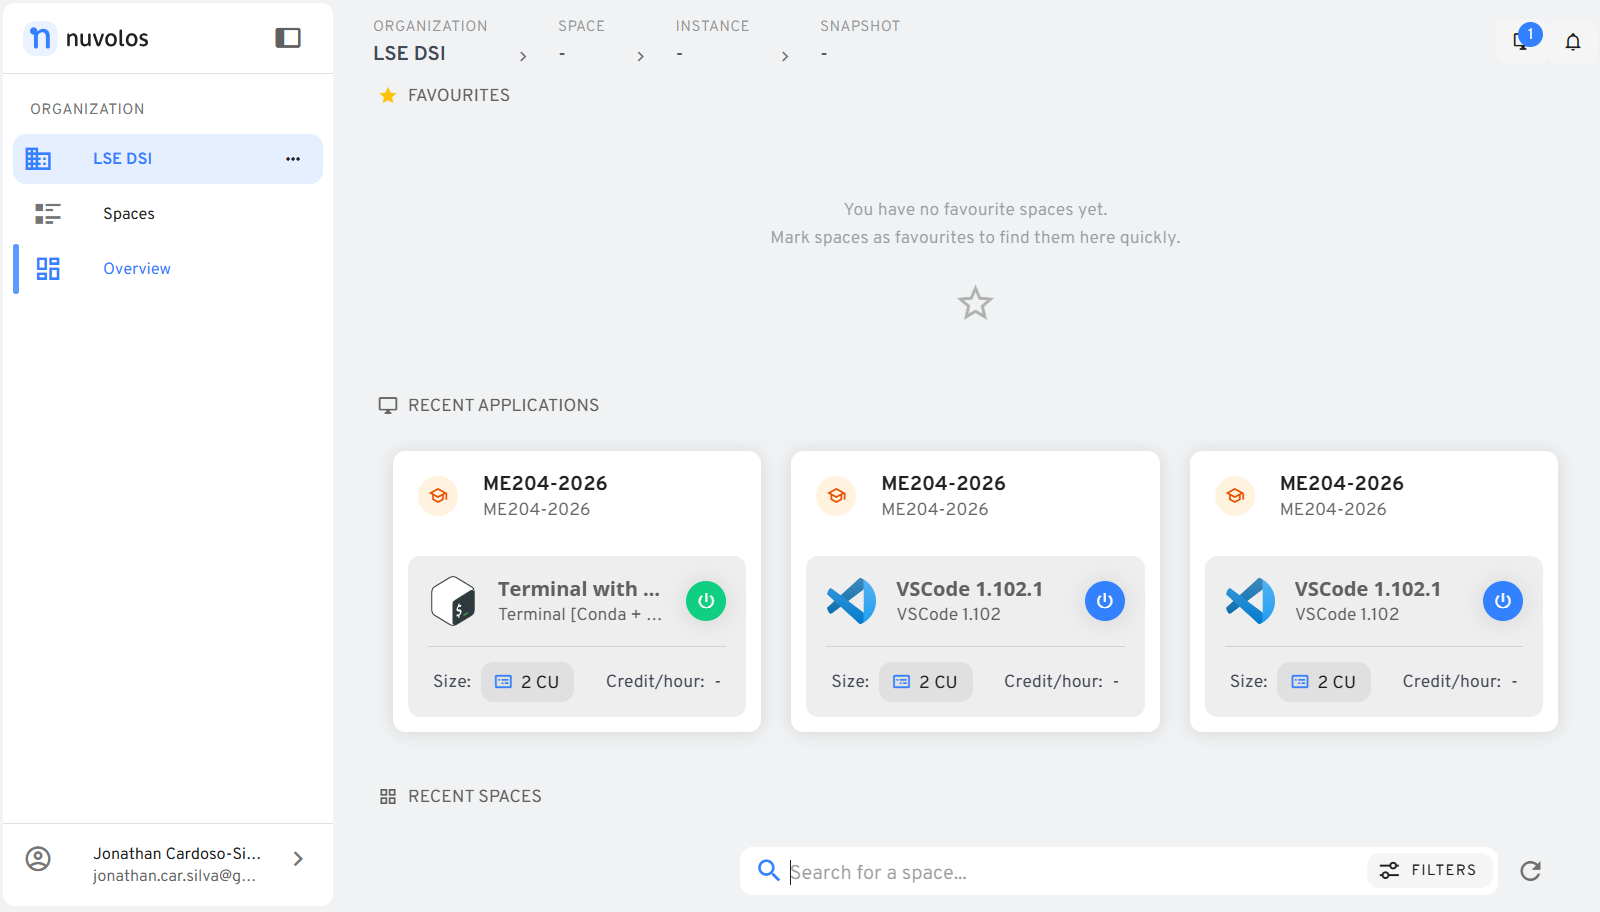
Figure 1. After login you land on the organisation home. Several cards may all say ME204-2026. Seeing more than one ME204-2026 card is normal. Each card is a recent application (for example Terminal or VS Code). This home page is where you jump back to a running app when you have several open.
Open the course space. In the left sidebar, click Spaces, then choose ME204-2026. That takes you into your own Instance: a personal workspace inside the shared course space.
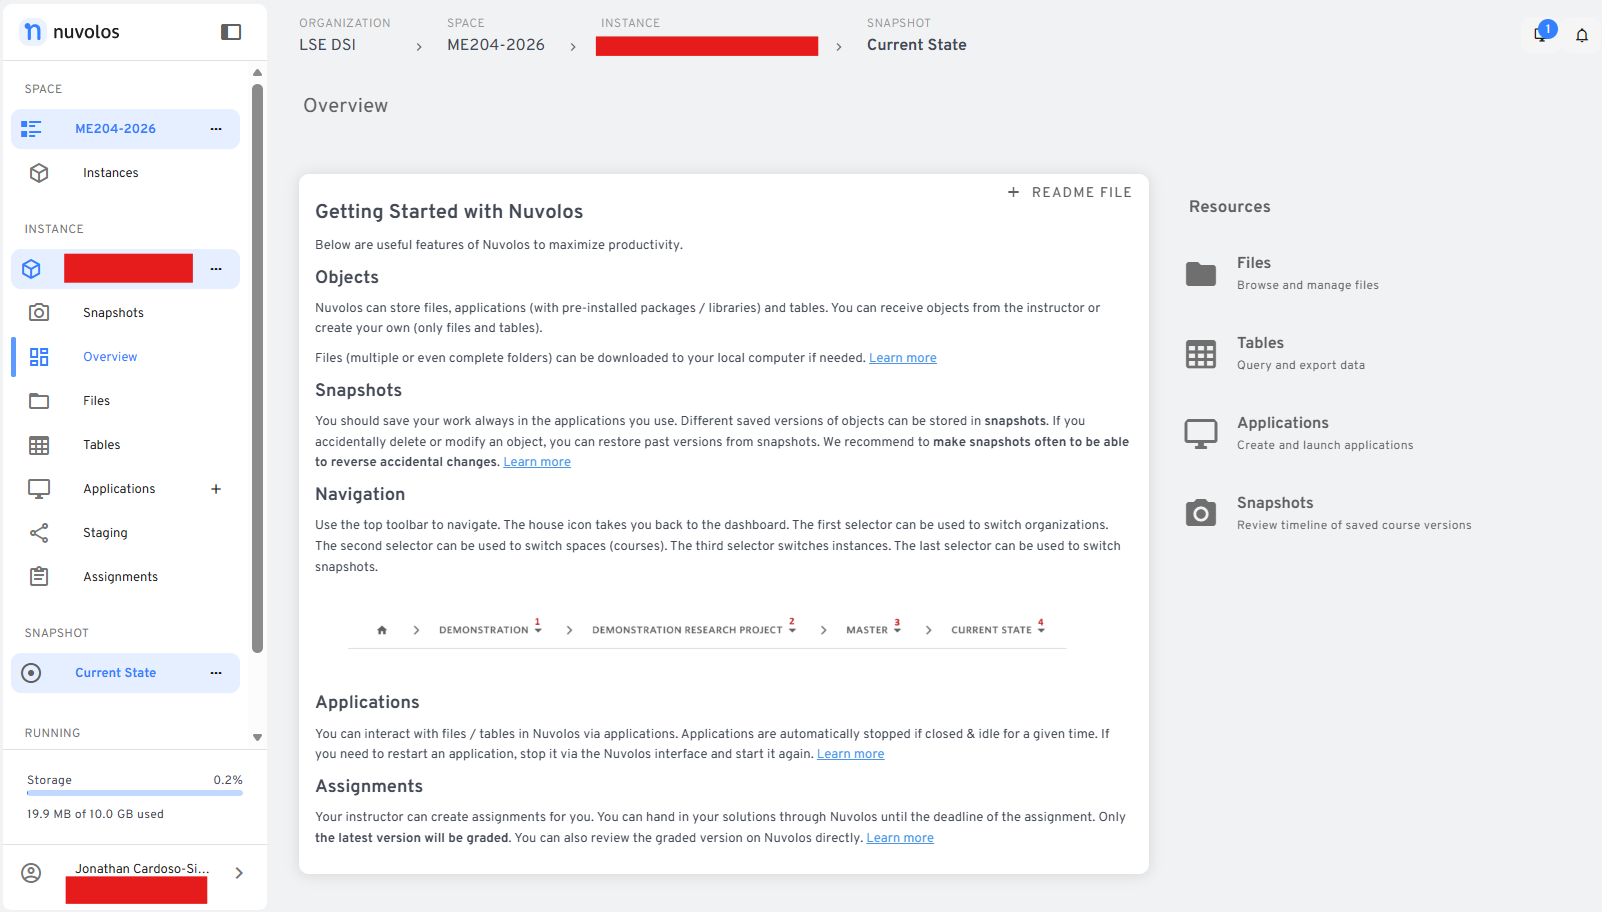
Figure 2. Inside ME204-2026 you get an Overview of your instance, with Files and Applications in the left menu. On this page you can ignore most of the Getting Started text and the Resources column for now. Day to day you will use these items in the left menu:
- Files: browse, upload, and download the folders you will use in labs.
- Applications: start the Terminal (and later VS Code).
- Assignments: for graded hand-ins. Follow Hand in an Assignment on Nuvolos when you are ready to submit.
Open Applications and start the Terminal. Click Applications in the left menu. You should see two apps: VSCode and Terminal with Oh My Posh.
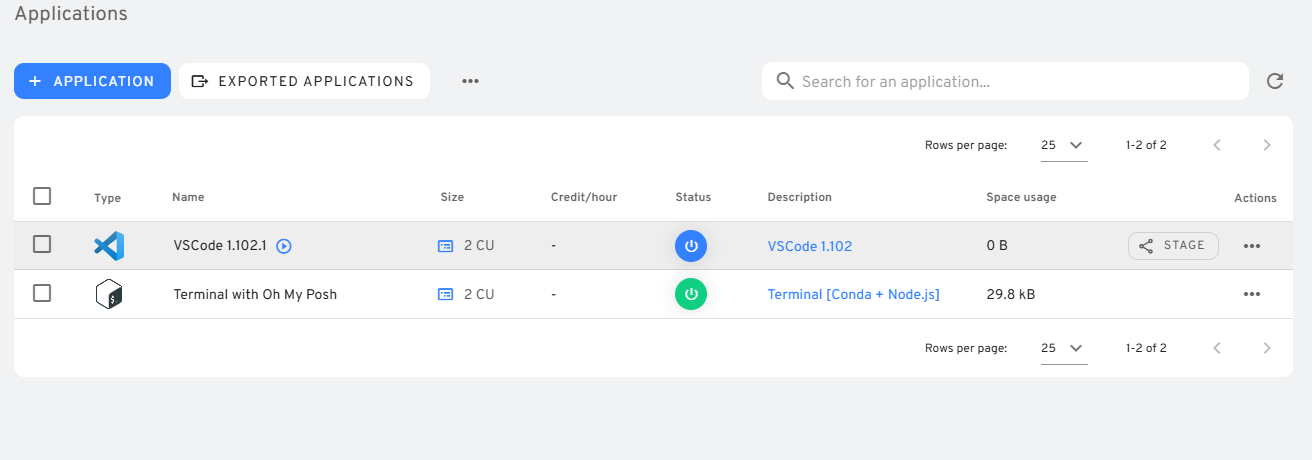
Figure 3. The Applications list. Status is blue when the app is down and green when it is running. For the first two days of the course we use only Terminal with Oh My Posh. Click the Status power button on that row to start it. The button is blue when the app is down and green when it is on. Leave VS Code alone until 🖥️ Week 01 Day 03 (see step 5 below).
Type in the Terminal. Once the Terminal is running, open it. You should see a dark screen with a coloured prompt, ready for you to type.
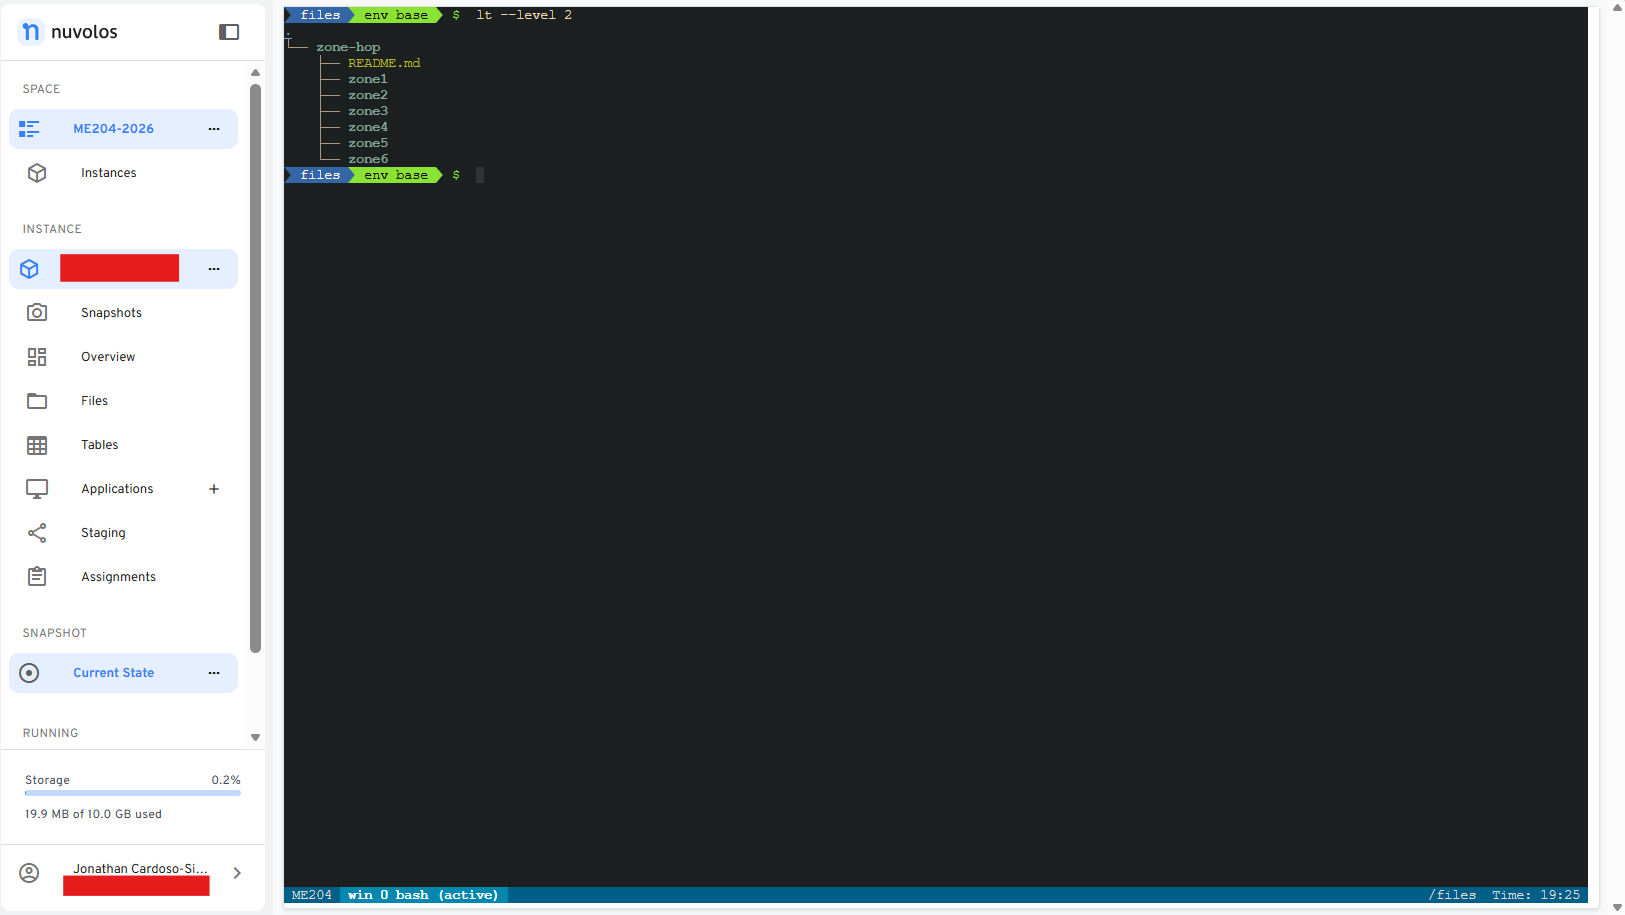
Figure 4. The Terminal app after it starts. Type commands on the dark screen at the blinking cursor. The colourful prompt comes from Oh My Posh, a tool we installed on the course workspace so the path and environment are easier to read than a plain
$. Click into the dark area and type as you would in any terminal.You will practise this interface heavily on 🖥️ Week 01 Day 01 and 🖥️ Week 01 Day 02. You are free to open the Terminal any time you want to try a command, even outside those labs.
Know what VS Code looks like (from 🖥️ Week 01 Day 03). The second app on the Applications list is VSCode. When it is running it looks like this:
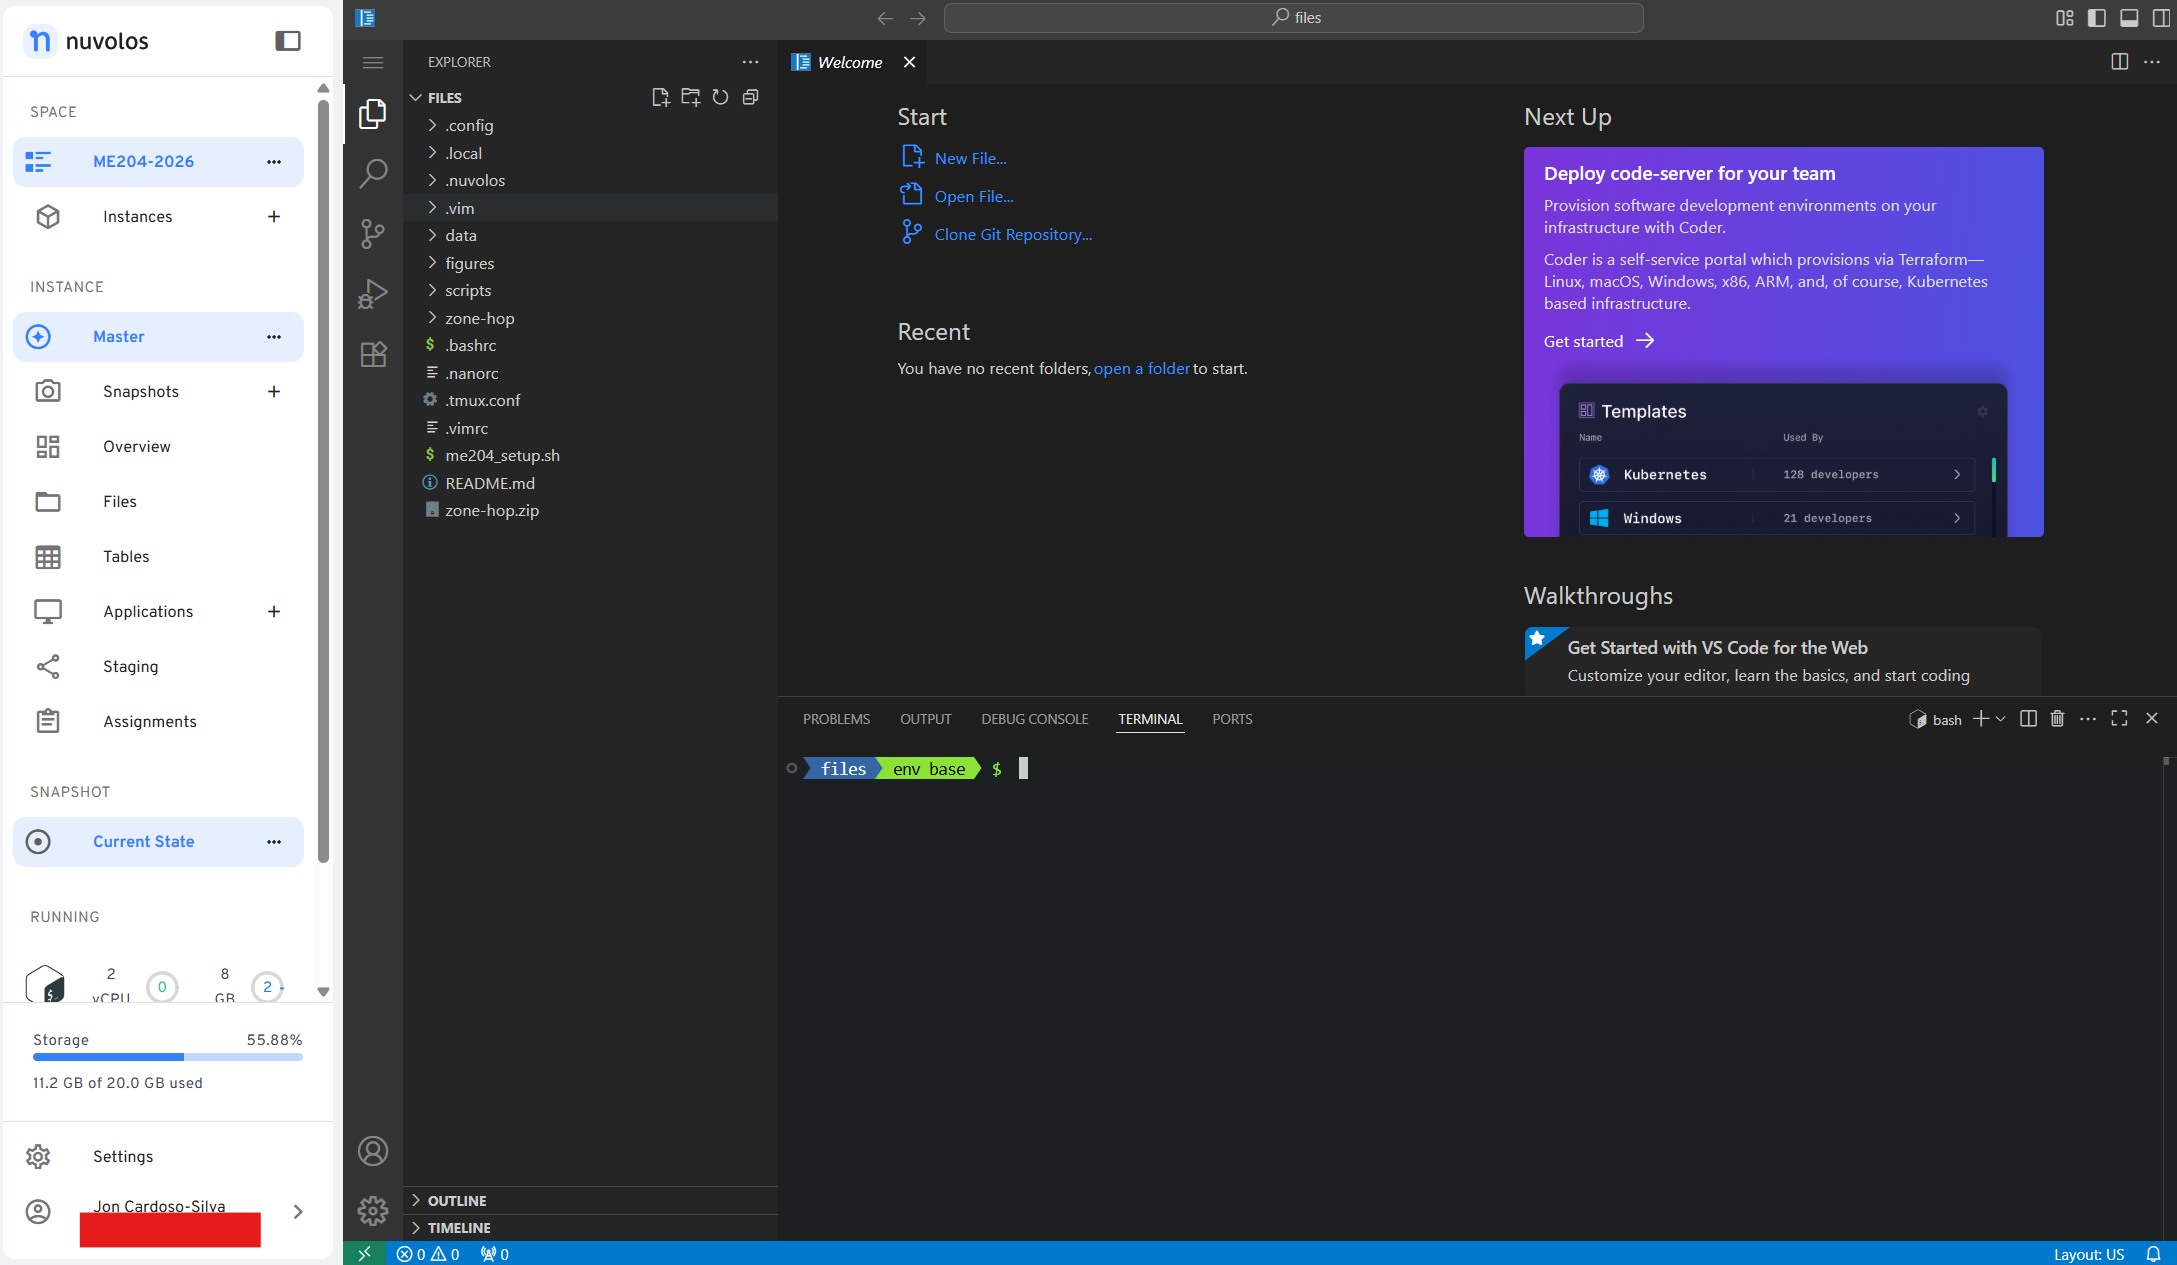
Figure 5. VS Code inside Nuvolos: file explorer on the left, editor in the middle, and a Terminal panel at the bottom with the same Oh My Posh prompt. We use VS Code from 🖥️ Week 01 Day 03 onwards (notebooks, editing scripts, and later Git). Start it the same way as the Terminal: blue Status means down, green means on. You do not need it for Day 01 or Day 02.
Navigate the files
The operating system on Nuvolos is Linux. The home directory and folder layout will look different from your own laptop.
When you work in the Terminal you will use UNIX commands, even if your computer runs Windows. The  Terminal Cheat Sheet lists the commands we use most often.
Click Files in the left menu to see folders and files in the browser. From there you can create folders, upload, and download.
Run Python and notebooks (later sessions)
Nuvolos already has Python installed. You can type python in the Terminal once you are comfortable there. From 🖥️ Week 01 Day 03 we also run Jupyter notebooks inside the VS Code app on Nuvolos (and the same way on your own computer when you work locally).