 Using Nuvolos
⚠️ IMPORTANT: Follow the instructions on this link if you don’t have a Nuvolos Cloud account yet.
Using Nuvolos
If you already have a Nuvolos account, simply go to the ![]() Nuvolos website and login using the credentials you provided when you created the Nuvolos account.
Nuvolos website and login using the credentials you provided when you created the Nuvolos account.
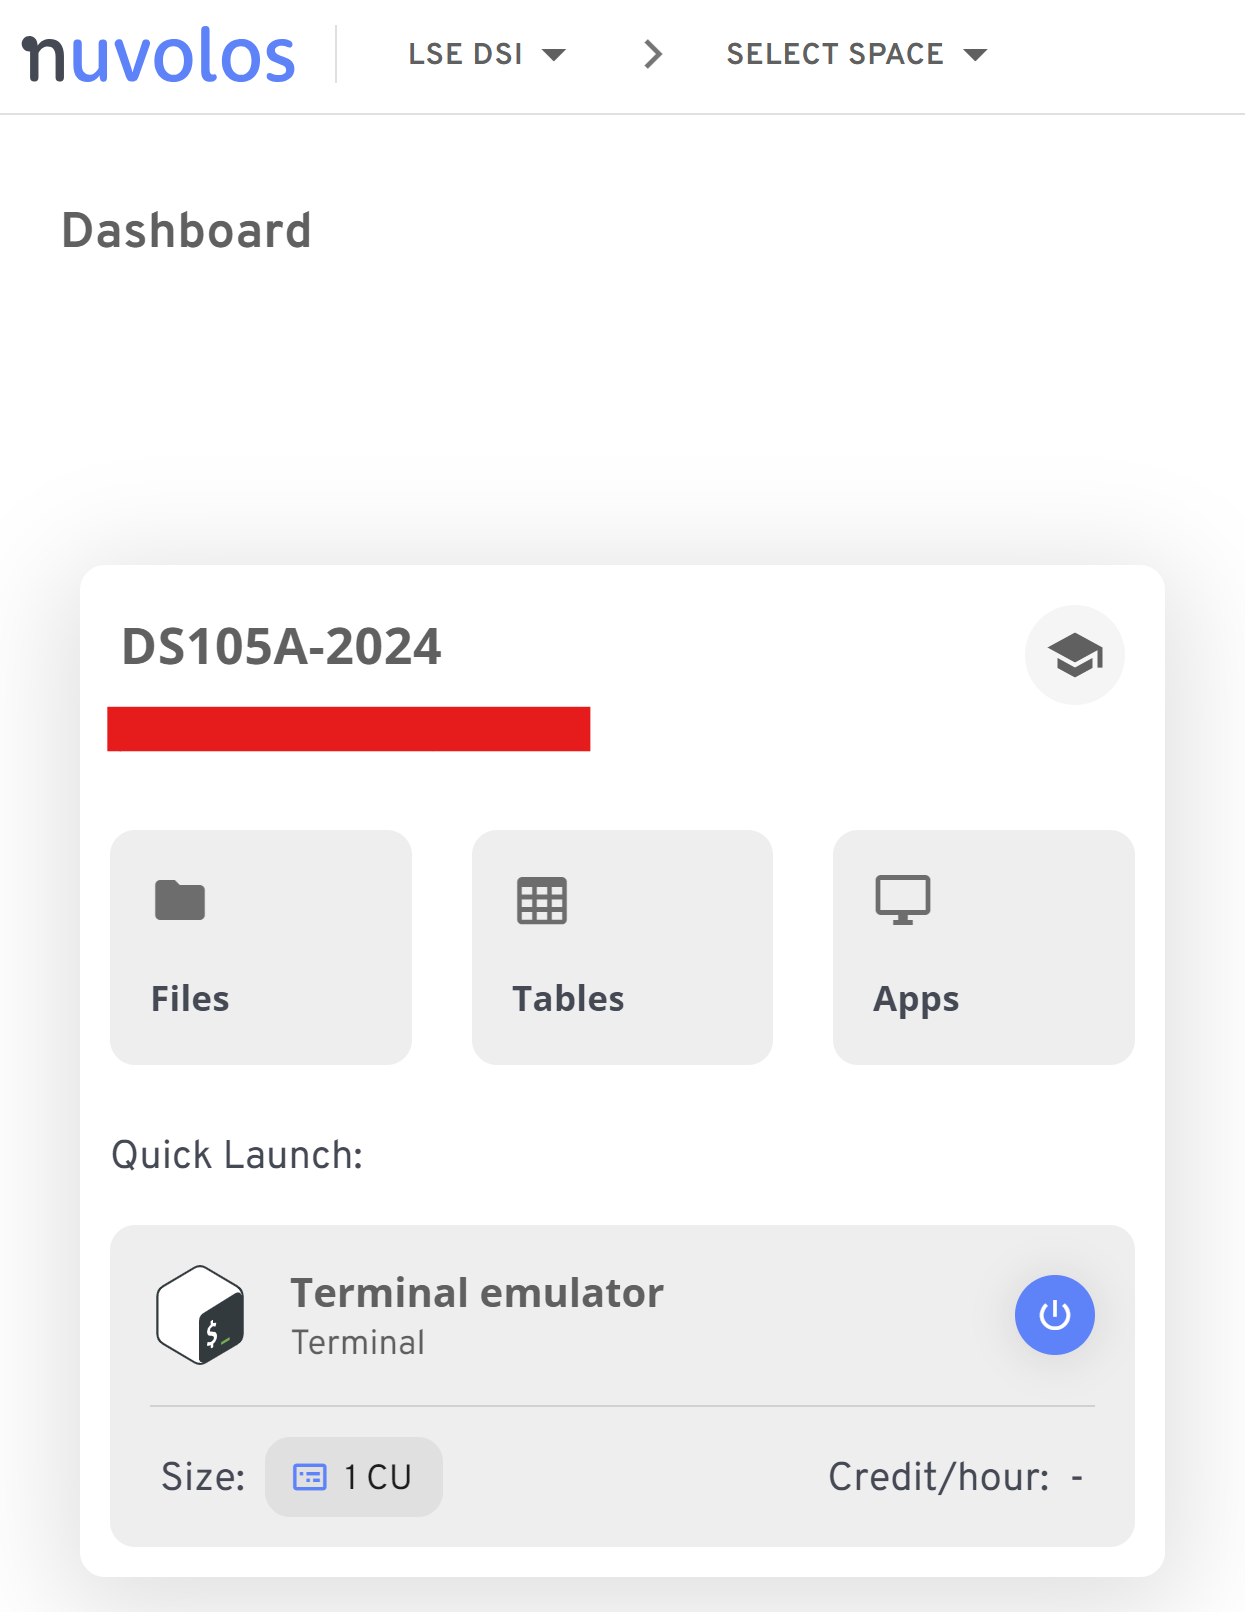
Access the platform. After logging in, you will be able to access the platform. You will see a screen similar to the one below:

Figure 6. Your Nuvolos frontpage will have a ‘Space’ dedicated to this course. Only it will show DS205 and not DS105A-2024! Click on the ‘DS205’ word to access the Overview page.

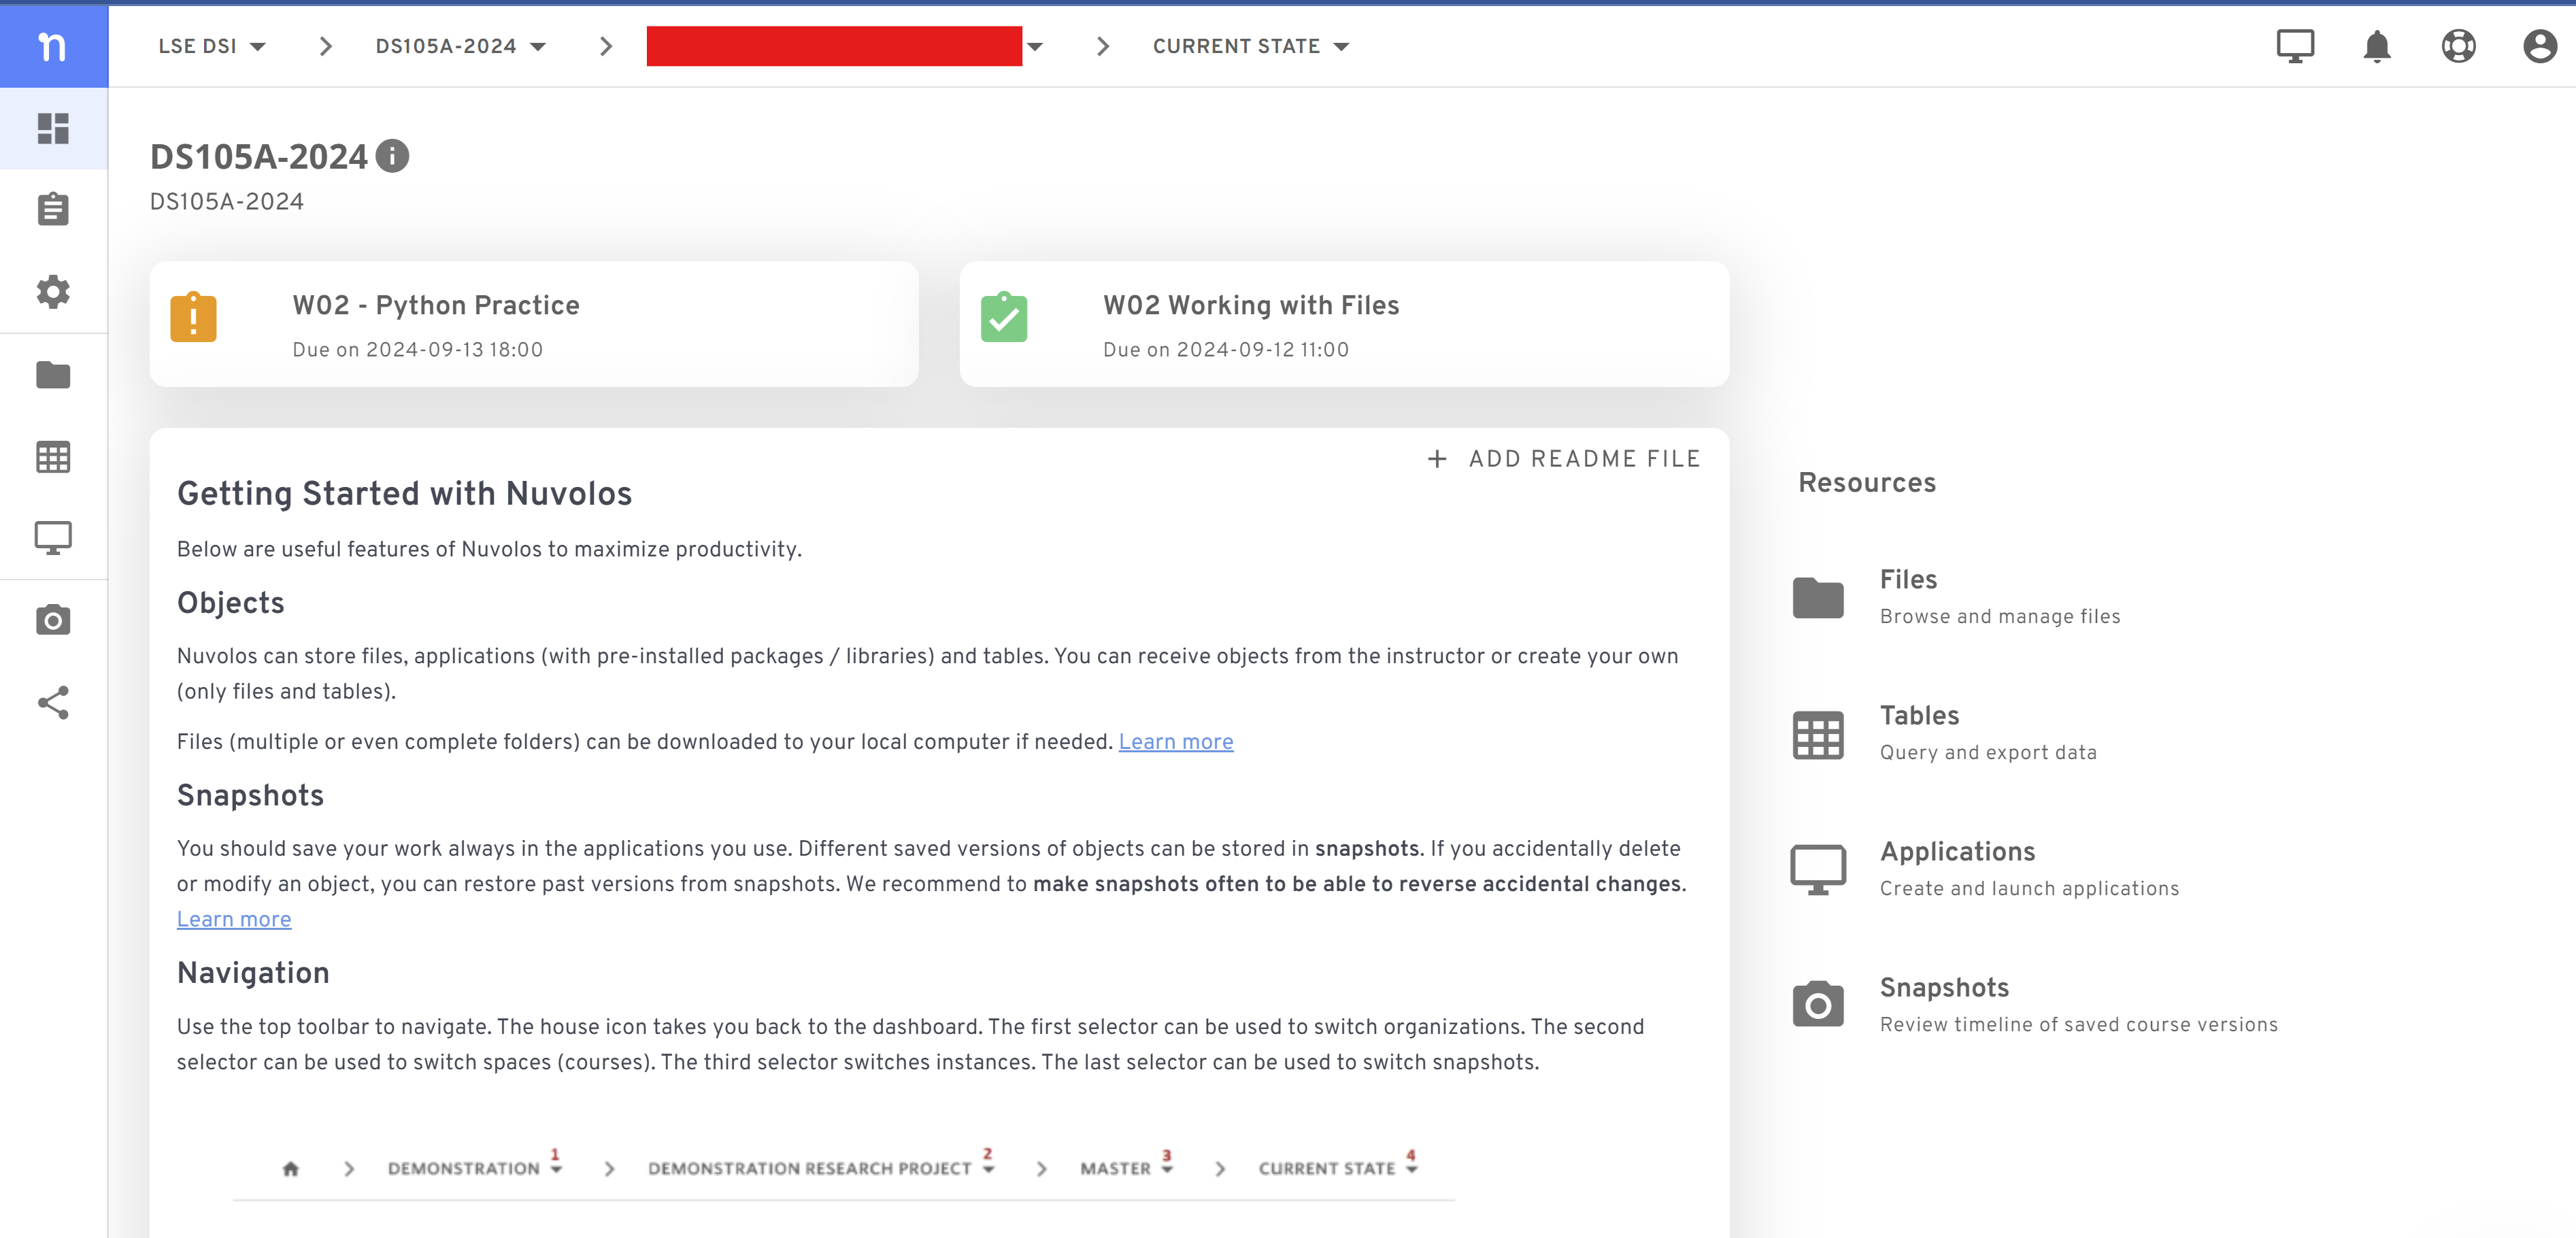
Figure 7. The Overview page has a list of all available assignments (if any) at the top and a bit of information about how to use the platform.
Run applications like the Terminal or VS Code
Visit the ‘Applications’ tab to see the available apps. You should see the Terminal app enabled by default and eventually other apps like VS Code.

Run Python
Nuvolos already comes with Python installed and pre-configured. Simply open the Terminal or the VS Code app and type python to start the Python interpreter.
Run Jupyter Notebooks
We will run Jupyter Notebooks exclusively via the VS Code application - whether on Nuvolos or on your computer.
Clone a Git repository
📚Advantages of having your code on a Git repository
Automatic backups: Your code is stored in the cloud. If you lose your computer, you can always download your code again from GitHub.
Work from any device: You can work on your code from within your computer, from inside the Nuvolos Cloud, or from any other computer, as long as it has an internet connection and Git installed.
Version control: You can keep track of the changes you make to your code and if you need to go back to something you wrote but deleted a few days ago, you can do that easily. No more “final_final_final_v2.py” files!
Collaboration: You can work with others on the same codebase. You can see what changes they made, and they can see what changes you made. You can also work on different parts of the code at the same time without stepping on each other’s toes.
1. Authenticate via the Terminal:
On the VS Code within Nuvolos, open a new terminal and type the following command:
gh auth loginand provide the requested information.
🛟 Help with this process step-by-step
👉 When asked “Where do you use GitHub?”, select the option “GitHub.com”
👉 When asked “What is your preferred protocol for Git operations on this host?”, select “SSH” 1.
You might get asked for a ‘Title for your SSH key’. You can leave it blank and press Enter. You can also accept the default file location for the SSH key by pressing Enter.
If asked for a passphrase, you can leave it blank and press Enter.
👉 When asked “How would you like to authenticate GitHub CLI?”, select “Login with a web browser”. Hit Enter afterwards to follow the link they provide, type in the one-time code on the new window and then authorize the connection with your GitHub account. After you have successfully authenticated, you can close the browser window and return to the terminal.
👉 You should see a message indicating that the authentication was complete. This means you can now use git commands from the Terminal to sync files to and from GitHub.
✋What if I want to connect from my own computer?
You can follow precisely the same steps above once you have installed the following software on your computer:
- Install Git on your computer.
- Install GitHub CLI on your computer to have access to the
ghcommand.
You might need to close and reopen your terminal after installing the software to make sure the new commands are available.
2. Create a clone of your repository.
Right now, your repository only exists on GitHub’s servers. If you want to open it on VS Code, you will need to create a local copy of it. This is called a ‘clone’.
In the terminal, navigate to the directory where you want to store your repository (I suggest /files on Nuvolos), and type:
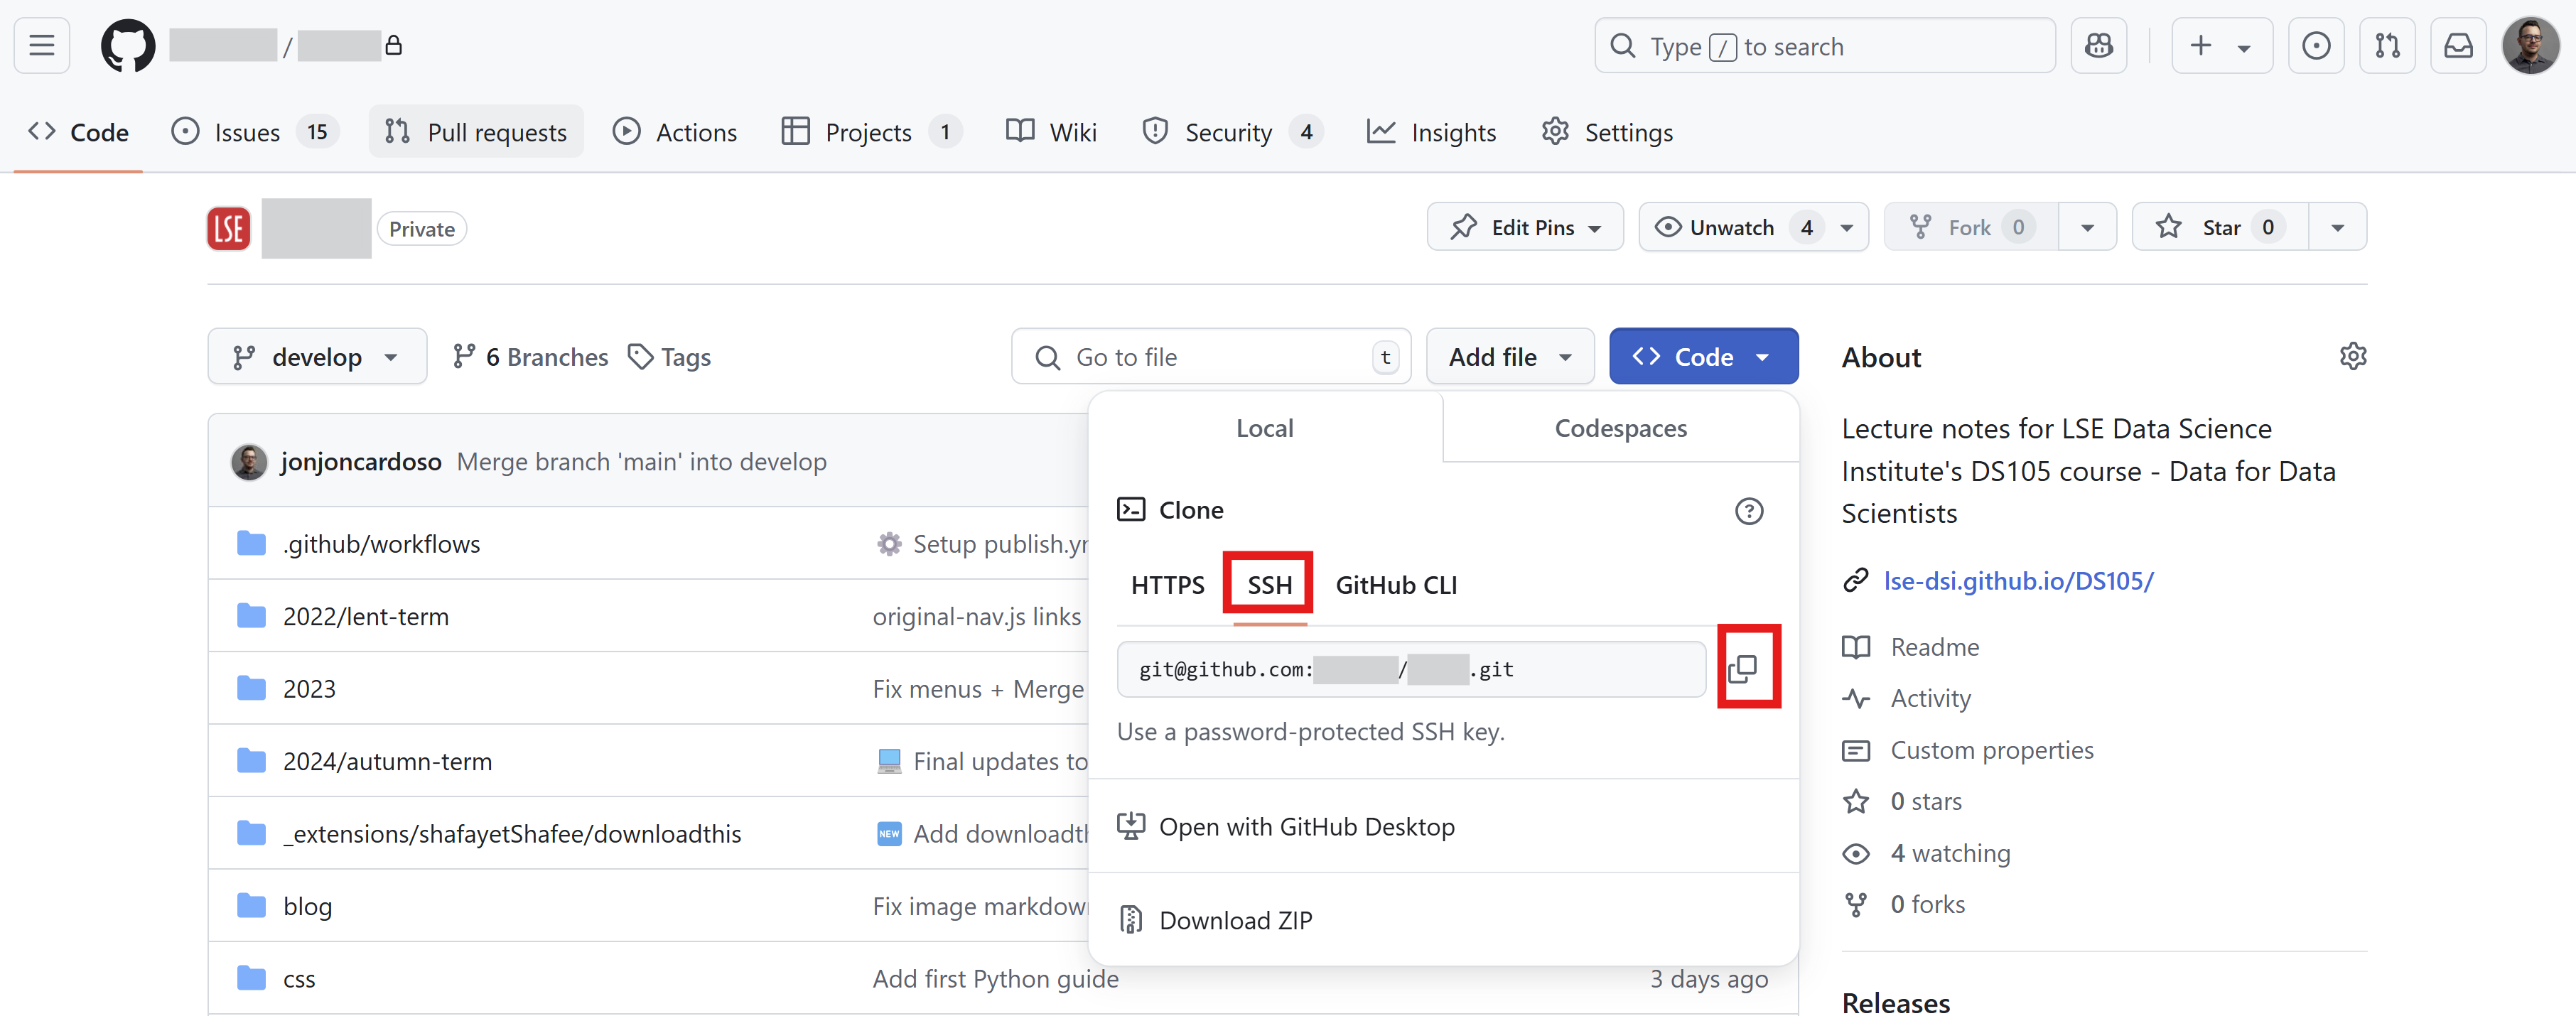
git clone <repository-ssh-url>Replace <repository-ssh-url> with the URL of your repository. See the image below to find the URL of your repository. Don’t forget to remove the < and > characters! We use them just to indicate that you should replace the text inside them.

💡 You only need to clone the repository once to be able to sync your files. You will only need to type the command above again if you decide to clone your repo to another computer.
3. Set up your Git configuration
Before you start using Git, you should set up your name and email address. This information will be used to identify you when you make changes to your code.
In the terminal, type:
git config --global user.name "Your Name"
git config --global user.email "Your e-mail"
Obviously, replace "Your Name" and "Your e-mail" with your actual name and email address – the same one you use on GitHub.
I’d also advise that you run the following command to set up your default text editor for Git:
git config --global core.editor "nano"The above will make sure that the app nano is used when you need to write a commit message and you are not stuck trying to escape vim.
In most DS205 assignments, you will submit your work by pushing your code to your GitHub repository, not by uploading files to Nuvolos or Moodle. This helps you get practice with industry-standard tools and workflows.